8 Ways to Style Plants in a Small Cottage Home
· thehazelcottage@mail.com
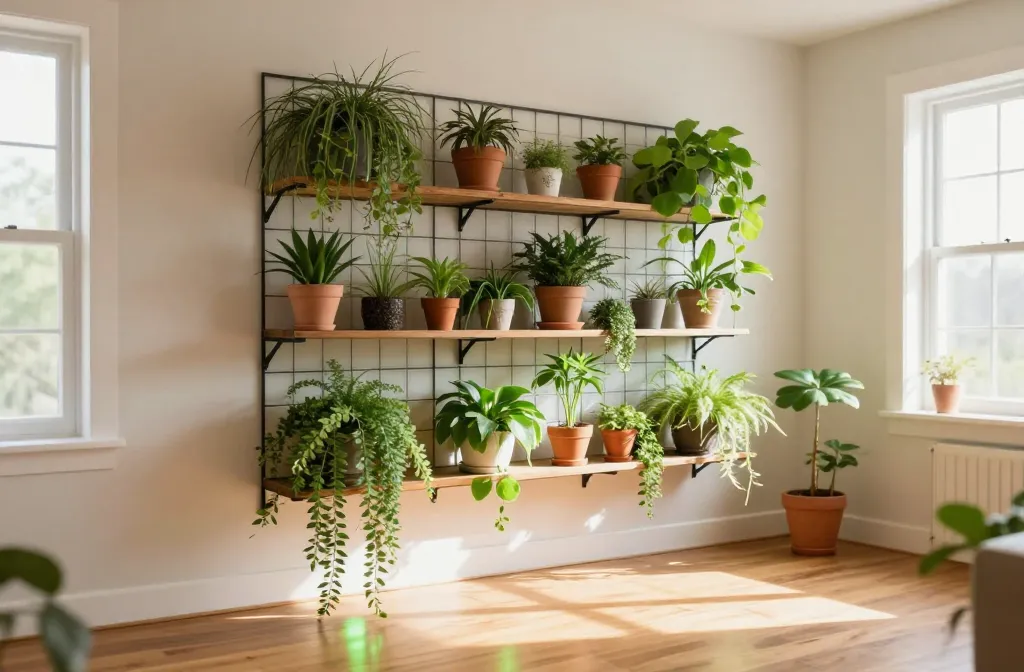
When I downsized into a cottage, I learned the hard way that small rooms can feel crowded if plants aren’t styled thoughtfully. You’ll see how to place greenery to open up every inch, keep maintenance simple, and create a cozy, cohesive vibe without clutter.
1. Vertical Plant Walls: Turn Walls Into Living Space
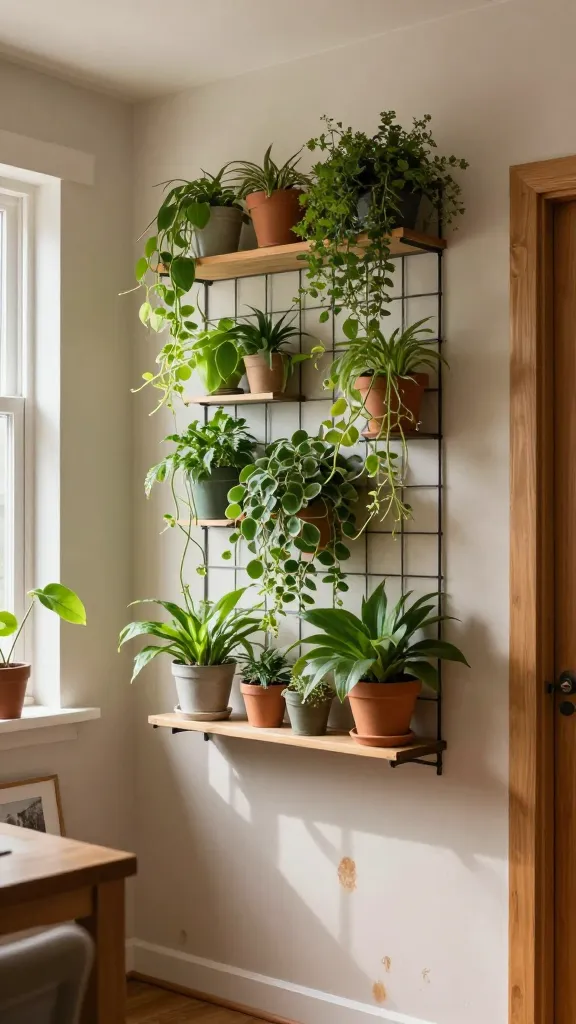
The risk in small cottages is running out of surface area for pots, so I began using walls as natural green shelves. A vertical display adds height and draws the eye upward, making rooms feel larger and calmer.
Signs to Watch For
- Leaves brushing against lamps or picture frames
- Dust buildup on lower shelves due to blocked airflow
- Water drips staining baseboards after watering
How to Fix It
- Install a simple wall-mounted plant shelf or a metal grid at mid-wall height
- Use lightweight pots and mix trailing and upright varieties
- Group plants in threes to create a balanced rhythm
What to Use Instead
- A basic wall shelf kit from your garden centre
- Trailing plants like pothos, ivy, or split-leaf philodendron
- Small terracotta or ceramic pots with a plug-in tray or saucers
Takeaway: Start with a 3-tier wall display near bright indirect light and expand with one new plant every two weeks.
2. Window-Box Perimeter: Frame Light with Green Borders
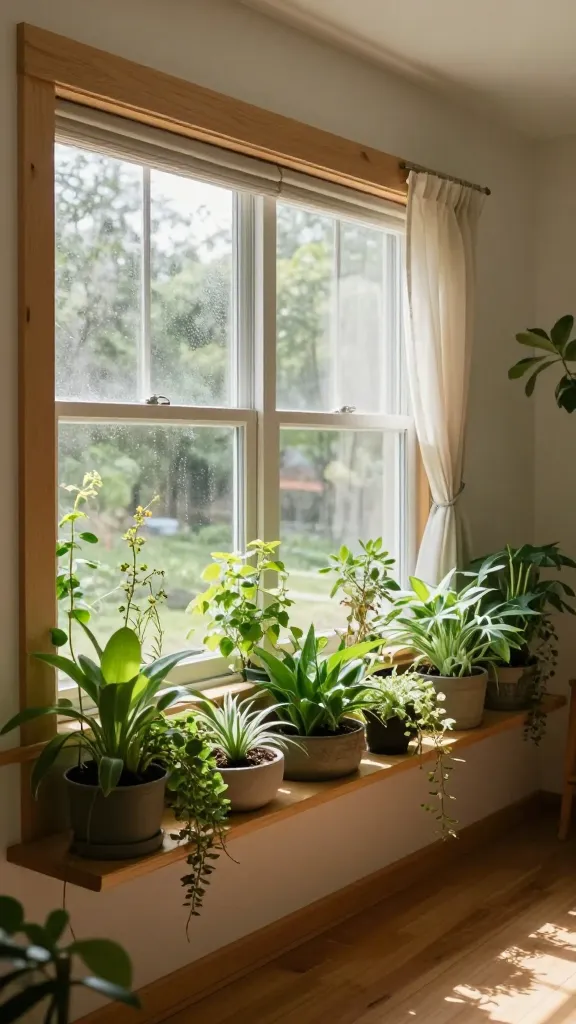
Windows are free real estate. I used shallow window boxes to keep the floor clear while wrapping the room in greenery that also filters light beautifully.
Signs to Watch For
- Sunburned leaves on plants closest to the glass
- Soil drying out faster near the window edges
- Watering schedules clashing with window condensation
How to Fix It
- Place plants with similar light needs together in the window box
- Line the box with waterproof liner and use a shallow potting mix
- Water in the morning to avoid mold in the box
What to Use Instead
- Shallow planter boxes from the garden centre
- Stapled-on drainage mats to prevent soggy roots
- Low-light tolerant options like ferns or tradescantias for east- or north-facing windows
Takeaway: Mount one window box along a bright window, filled with 2-4 plants, and reassess every two weeks for drift and balance.
3. Corner Caddies: Free Up Floor Space with Corner Plant Stands
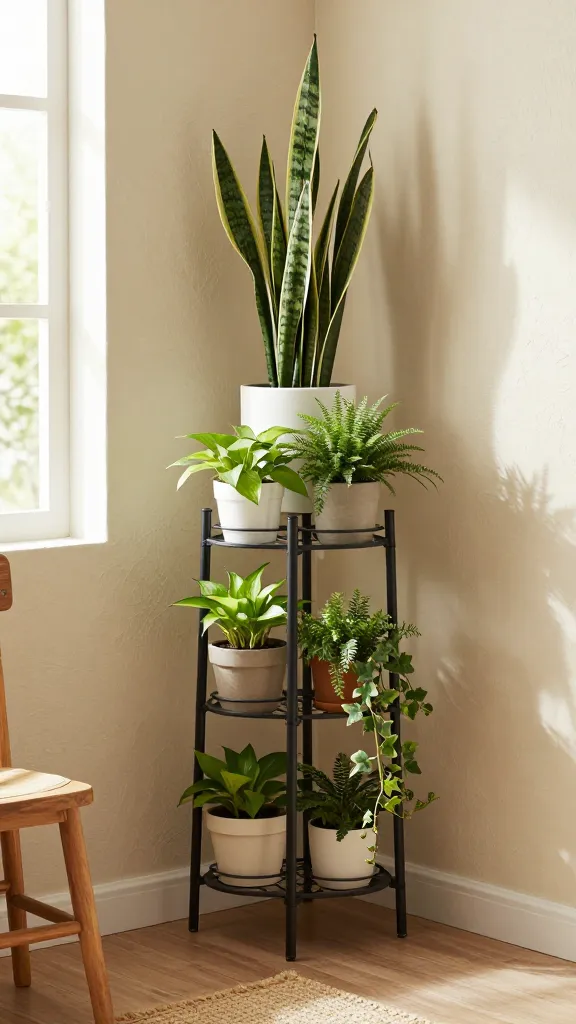
Corners in a cottage can feel wasted. I turned them into vertical pockets by using corner plant stands that hold several pots without crowding the room.
Signs to Watch For
- Corner shadows blocking natural light to other plants
- Dirty drip trays or water pooling on the floor
- Plants leaning or stretching toward the light source
How to Fix It
- Secure a tall, narrow stand with four shelves
- Rotate plants monthly to prevent lopsided growth
- Include a tall plant at the back and smaller ones at the front
What to Use Instead
- Pre-made corner plant shelves from a hardware store
- Low-maintenance greenery like ZZ plants, snake plants, or pothos
- Self-watering pots to reduce drips
Takeaway: Dedicate one corner to a slim, multi-tier unit and populate it with a mix of upright and trailing plants for continuous greenery without crowding benches.
4. Coffee Table Canopy: Create a Momentary Focal Point
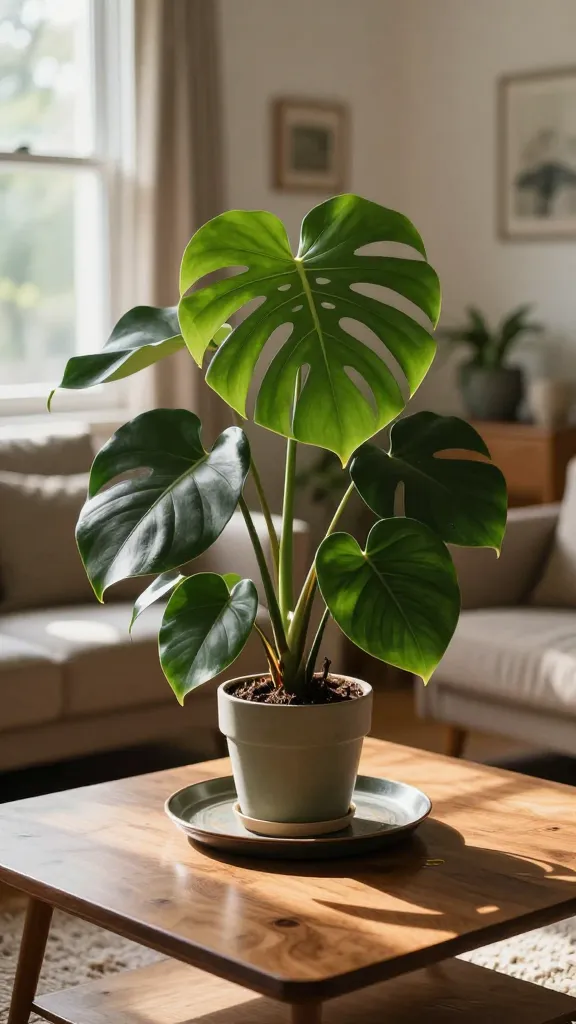
A small cottage benefits from a single, intentional plant cluster as a focal point on tables. I place a larger plant with a striking silhouette in the center and surround it with smaller companions.
Signs to Watch For
- Overcrowded surface causing plant stems to bend
- Water rings on the table from poorly placed pots
- Inconsistent lighting across the table
How to Fix It
- Use a tray under the centerpiece to catch water
- Choose a large-leaf specimen as the anchor (e.g., rubber plant or monstera)
- Fill the rest with compact varieties like fittonia or small ferns
What to Use Instead
- A low, decorative plant stand to lift the arrangement
- Water resistant table mats
- Cleaner lines—matching pots in neutral colors
Takeaway: Build a three- to five-plant centerpiece with one focal plant at the back or center and smaller companions radiating outward.
5. Shelved Micro-Gardens: Week-by-Week Parceling
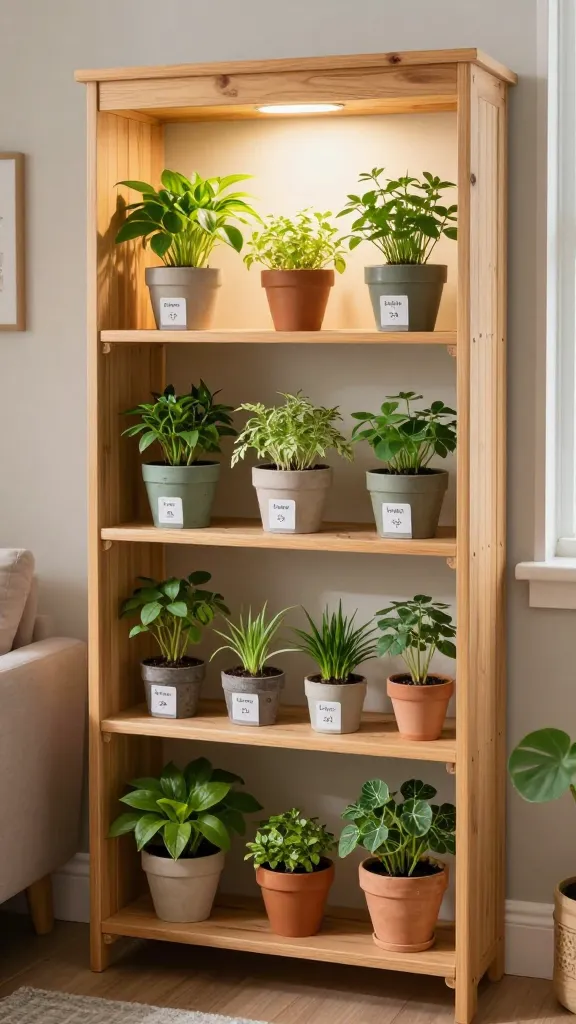
Shelves are versatile for staging a rotating micro-garden without committing to a full shelf of pots. I use a simple 2-3 shelf unit to group by light needs and watering frequency.
Signs to Watch For
- Uneven moisture with some pots soggy while others stay dry
- Dust buildup on the tops of shelves where light enters
- Plants blocking shelf ventilation and overheating
How to Fix It
- Label each plant with a small tag noting light needs and watering interval
- Place on a bright indirect light shelf, spacing 5-8 inches apart
- Water groups on the same day to simplify care
What to Use Instead
- Standard 4-tier wire shelving or particle board utility shelves
- Plastic saucers under each pot to keep shelves clean
- Watering tray mats to simplify cleanup
Takeaway: Start with a 2-shelf unit and fill it in by light tolerance, updating the group every two weeks to keep a living, easy-care display.
6. Floating Planter Ledges: Draw the Eye, Not the Floor
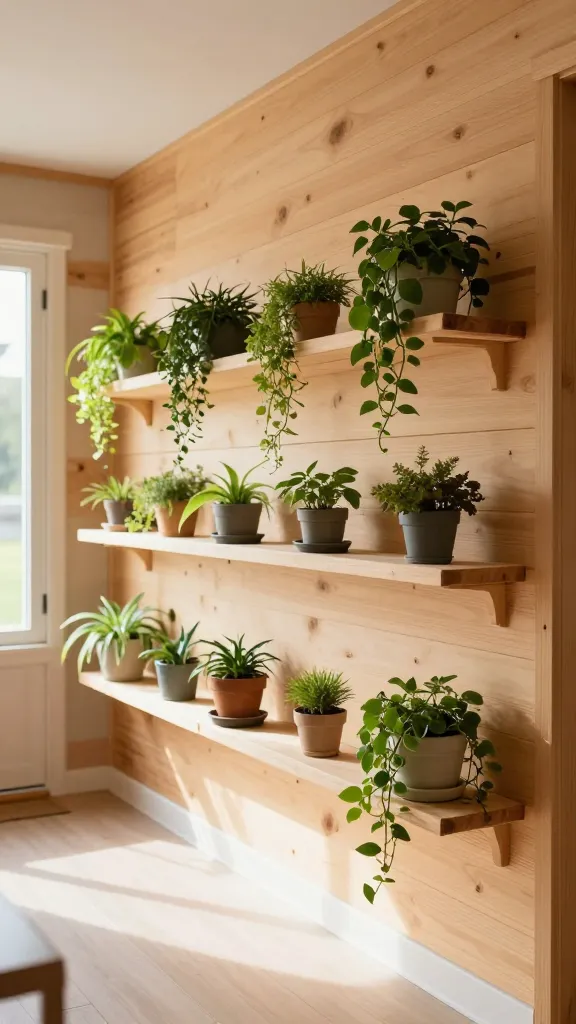
Floating planters let greenery appear to hover, which visually expands a small cottage. I installed slim ledges along a wall to create a moving line of plants at eye level.
Signs to Watch For
- Planters protruding into walkways or door swing zones
- Water leaks staining wood or paint
- Difficulty dusting shelves that are hard to reach
How to Fix It
- Place planters within a 5-8 inch depth from the wall
- Use pots with drainage trays to catch excess water
- Limit to 2-4 planters per ledge to keep paths clear
What to Use Instead
- Pre-finished wooden ledges or metal brackets from a hardware store
- Lightweight pots (ceramic or plastic) with saucers
- Trailing or cascading plants for a continuous line
Takeaway: Install two floating ledges at eye level and populate with 2-3 compatible plants for a bold, space-saving statement.
7. Under-Bench Accents: Hidden Greenery for a Calm Floor Plan
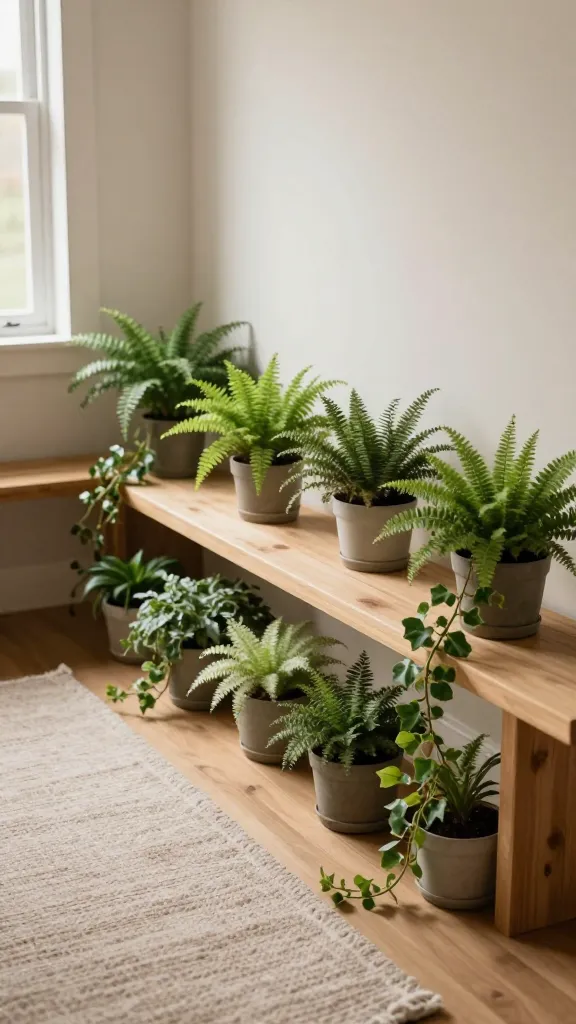
Under-bench space often goes unused. I tuck compact pots and trailing vines beneath seating for a soft, natural border that adds texture without crowding the room.
Signs to Watch For
- Water pooling under benches or on the floor
- Inaccessible pots becoming overgrown or top-heavy
- Cluttered edges making seating less comfortable
How to Fix It
- Choose low-profile pots under 6 inches in height
- Water on a schedule that allows the soil to dry lightly between waterings
- Place trailing plants so they drape toward the front for visibility
What to Use Instead
- Minimalist metal or plastic planters designed for under-bench use
- Self-watering pots for manageable maintenance
- Compact varieties like pavonias or small peperomias
Takeaway: Clear the space under a bench with 2-3 compact plants and a trailing plant to soften the line in one go.
8. Hallway Pulse: A Narrow Green Corridor to Connect Rooms
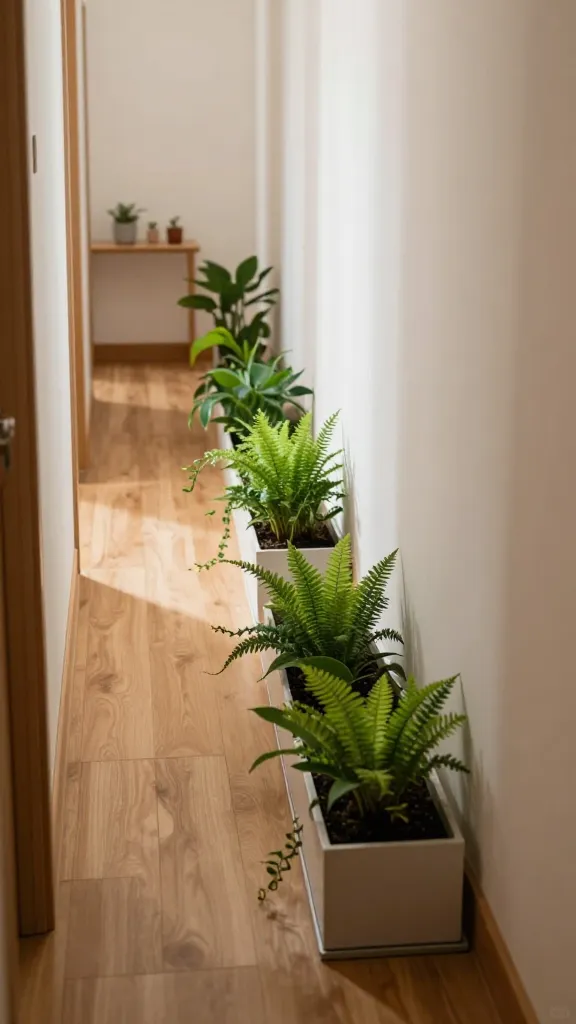
Hallways often feel like dead space; I turned mine into a living corridor with a narrow run of plants in slim planters, creating a gentle transition between rooms and a sense of movement.
Signs to Watch For
- Plants blocking daylight to adjacent rooms
- Water spills along the hallway from improper drainage
- Roots or stems growing into traffic paths
How to Fix It
- Use low-height planters in a single-file line
- Keep drainage trays under pots and wipe spills promptly
- Rotate planters every month to balance light exposure
What to Use Instead
- Two to three narrow, long planters rather than a single wide one
- One trailing plant to soften the row
- Neutral-colored pots to blend with wall color
Takeaway: Create a 4-6 foot green connector with a single-file line of 4-6 plants that still leaves a clear walking path.
Frequently Asked Questions
What plants are best for small cottage spaces?
Choose plants with compact growth and forgiving light needs. Look for pothos, ZZ plants, snake plants, ferns, and peace lilies. Aim for a mix of upright and trailing varieties to create depth without crowding surfaces.
How do I keep water from dripping on furniture?
Use trays or coasters under every pot, especially on shelves and window boxes. Elevate pots slightly with pot risers to improve drainage and airflow. Water on a schedule that matches the plant’s needs to minimize spills.
How often should I rotate plants for even growth?
Rotate every two weeks to ensure even light exposure and growth. If space is limited, rotate a third of the plants at a time so at least half of the display looks balanced each week.
What is the simplest way to start a cottage-style plant display?
Begin with a vertical wall display or a window box. Add one new plant every two weeks, grouping by light tolerance. Keep a consistent pot style and color palette to maintain a cohesive look.
How can I prevent mold on shelves and ledges?
Ensure good airflow, avoid overwatering, and wipe shelves weekly. Use drainage trays and a moisture-absorbing mat under pots in high-humidity spots like the kitchen or bathroom.
What is a beginner-friendly watering routine?
Check soil moisture with a finger test: if the top inch is dry, water until it runs through the drainage holes. For most cottage plants, watering every 7-14 days is sufficient, adjusted for light and temperature.
Conclusion
With these eight approaches, you can weave greenery through every inch of a small cottage home without clutter. Start with one simple change, like a vertical wall display, and let your space grow with your confidence.
Leave a Reply