10 Natural Kitchen Storage Ideas That Look Good and Work Harder
· thehazelcottage@mail.com
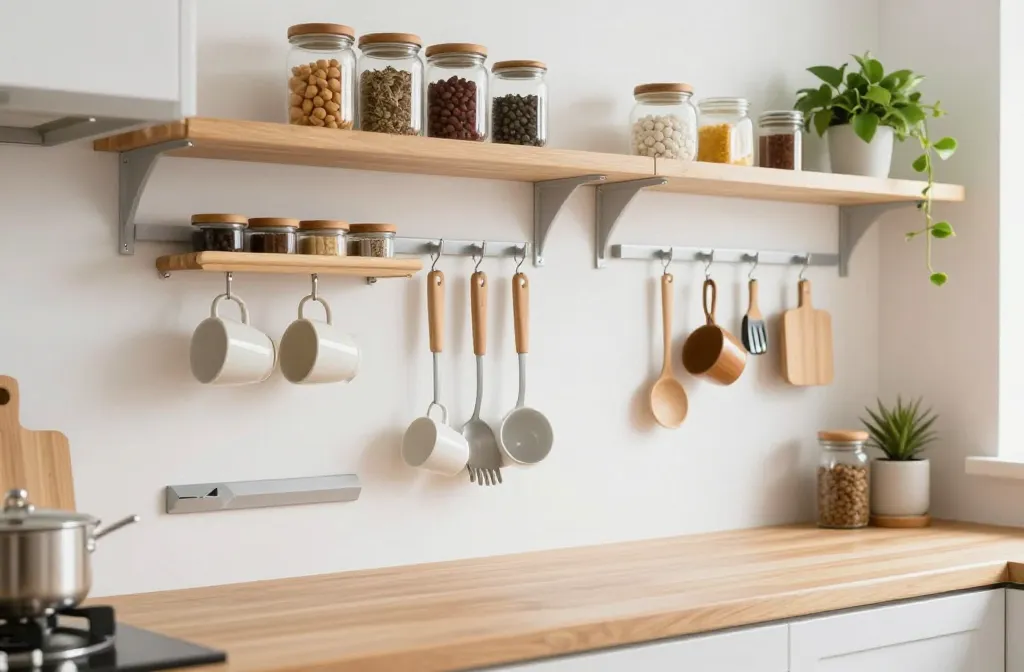
I’ve spent years fitting a functional kitchen into a compact apartment, and the difference between clutter and calm often comes down to storage that is both attractive and practical. These ideas combine aesthetics with real, everyday usefulness, so you’ll actually use them. Below you’ll find concrete steps you can implement today, using common store-bought items and household tweaks.
1. Vertical Racks and Hooks: Free Wall Space That Multiplies Storage
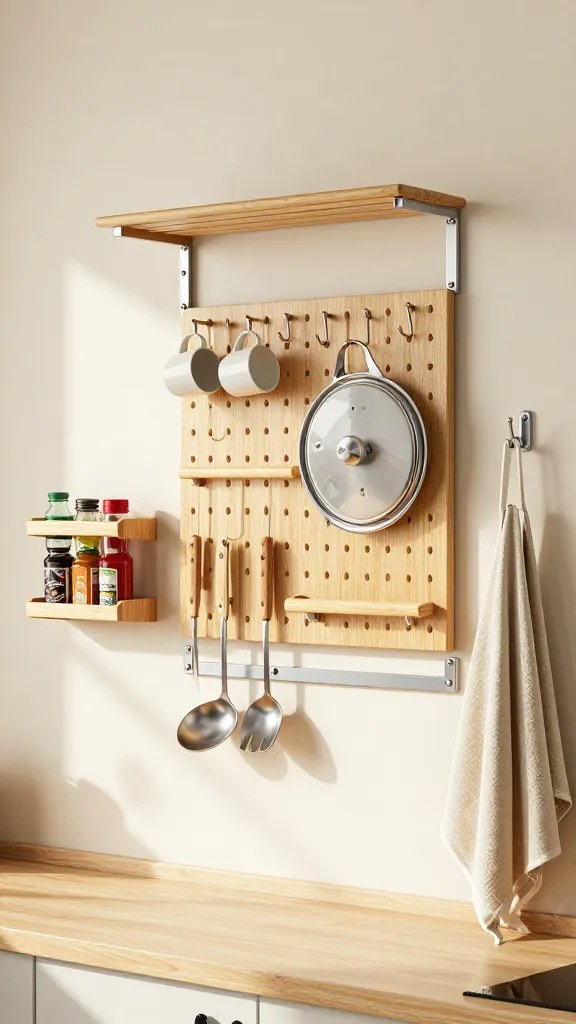
<pThe fear of clutter often comes from overcrowded counters. By moving items to vertical racks, you reclaim precious counter real estate and create a cleaner look. You’ll notice items become more accessible and visually organized rather than scattered.
Signs to Watch For
- Items piling up on the counter and near the sink
- Limited under-cabinet space due to loose bags and utensils
- Difficulty seeing what you own at a glance
How to Fix It
- Install an adjustable metal or bamboo wall rack above the prep area.
- Use pegboard with hooks for mugs, measuring spoons, and pot lids.
- Hang a small rail for frequently used utensils and a magnetic strip for metal tools.
What to Use Instead
- A shallow wall-mounted rack for spices
- Over-door hooks for aprons and towels
- Non-slip adhesive hooks for light items
Takeaway: Allocate 15–20 minutes to install vertical storage today, keeping frequently used items within arm’s reach.
2. Clear-View Canisters: See It, Reach It, Use It
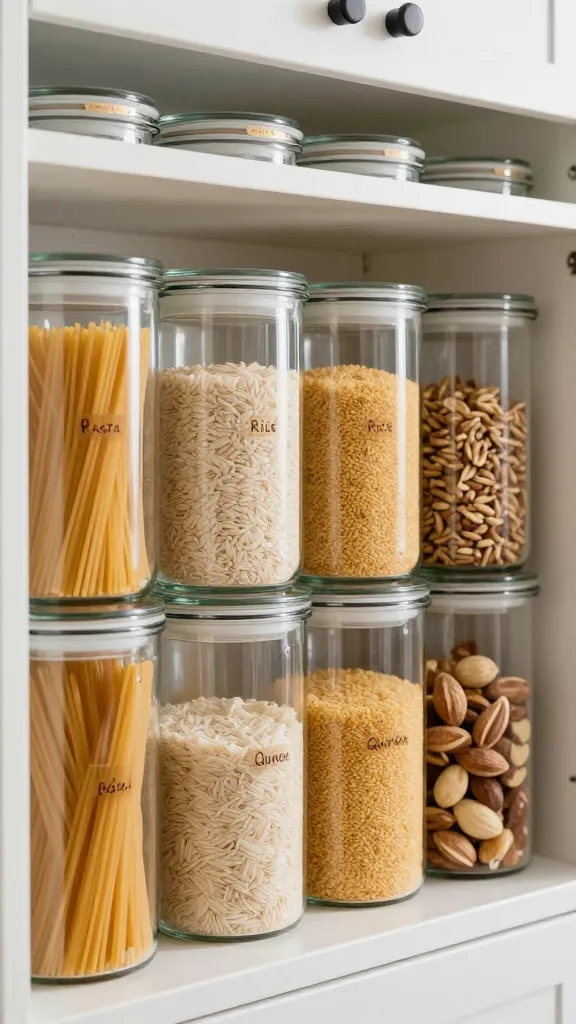
Opaque bags and boxes hide the contents and slow you down. Clear canisters paired with uniform lids transform cabinets into an organized pantry and reduce duplicate purchases.
Signs to Watch For
- Everything in original packaging on the shelf
- Frequent trips to the pantry to identify contents
- Expired products going unnoticed until you see mold
How to Fix It
- Replace dry goods with clear, airtight canisters labeled with the date
- Group similar items (pasta with pasta, rice with rice) for quick scanning
- Create a “use soon” shelf for items nearing expiry
What to Use Instead
- Borosilicate glass canisters with airtight lids
- Reusable silicone lids for bags that don’t seal tightly
Takeaway: Dedicate 30 minutes to swap out three common dry goods containers for clear canisters this week.
3. Under-Sink Drawer Organs: Transform the Black Hole
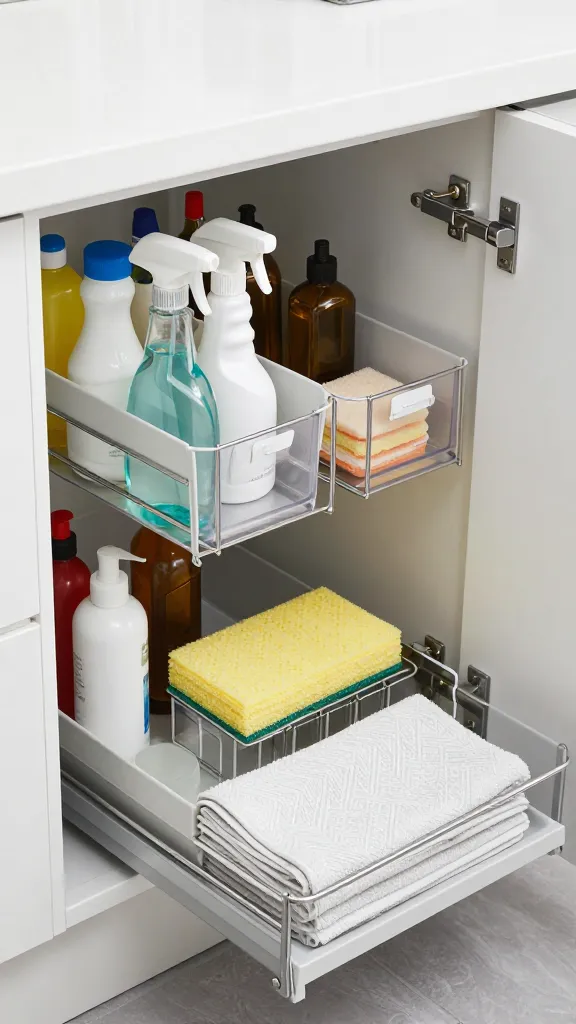
The space under the sink often becomes a dumping ground for bottles and cleaners, creating a stagnant, messy zone. A simple drawer or modular trays can turn this area into a labeled, easy-to-navigate storage spot.
Signs to Watch For
- Items stacked in hard-to-reach corners
- Overflowing cleaning products that spill when opened
- Water leaks causing rust or mold in the cabinet
How to Fix It
- Install a shallow, pull-out drawer or tiered baskets
- Use small transparent bins for sprays, sponges, and towels
- Place a tray on the bottom to catch leaks and simplify cleanup
What to Use Instead
- Wire rack with three levels to maximize height
- Clear bins labeled for “cleaning” and “replacements”
Takeaway: Clear out, group, and slide items into a pull-out tray within 15 minutes of starting.
4. Stackable Bins: Heighten Capacity Without Expanding Footprint
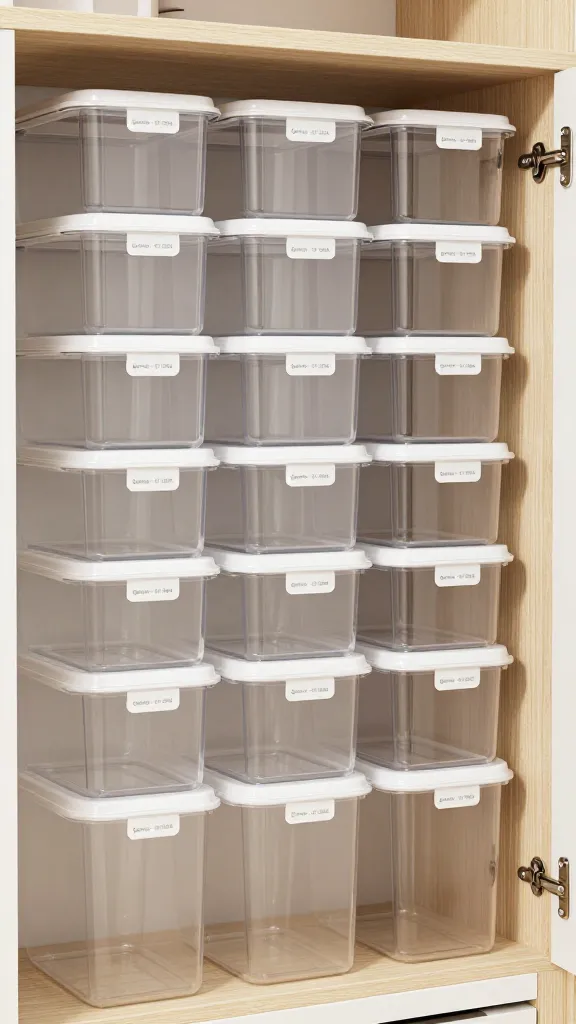
Stackable storage leverages vertical space in pantry cabinets or on open shelves, creating a tidy grid that makes every inch count.
Signs to Watch For
- Cramped shelves with items spilling over
- Duplicates of the same product because you can’t see stock
- Items slipping between gaps and getting neglected
How to Fix It
- Choose BPA-free, stackable bins with lids
- Label each bin with contents and date of purchase
- Use the front-to-back rule: oldest product at the front
What to Use Instead
- Modular drawer units that fit standard cabinet widths
- Flip-top containers for frequent-use snacks
Takeaway: Allocate 20 minutes to measure shelves and buy two matching stackable bins today.
5. Drawer Dividers for Spices and Utensils: Precision Without Clutter
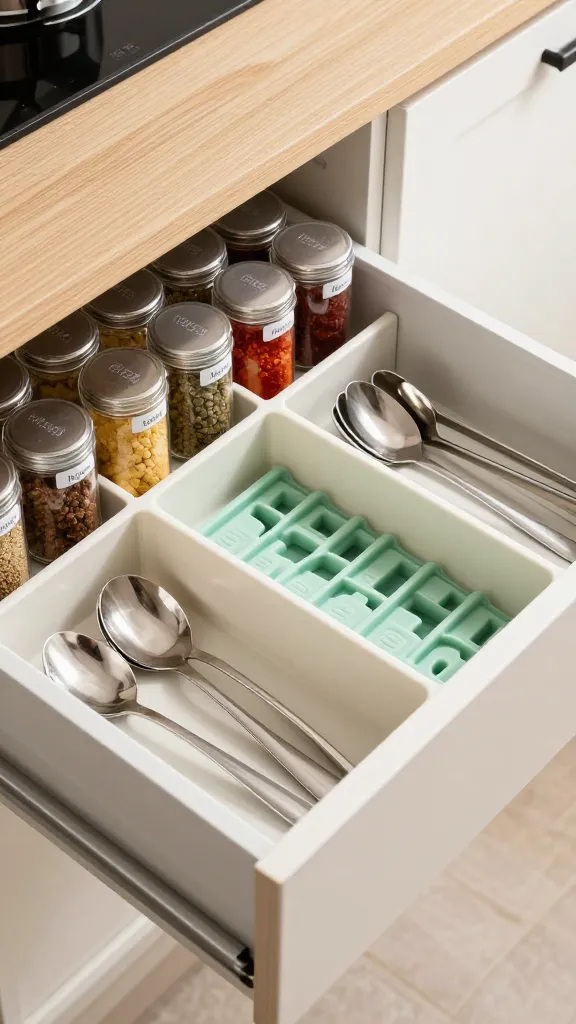
Drawers are for easy access, but without dividers they morph into a chaotic pile. Proper dividers keep spices and utensils organized and visually neat.
Signs to Watch For
- Spice bottles standing sideways or toppled
- Utensil utensils mixing spoons with tongs, creating clutter
- Difficulty finding the right spice quickly
How to Fix It
- Install adjustable dividers in drawers
- Group spices by cuisine or frequency of use
- Use labeled silicone inserts for utensils
What to Use Instead
- Removable tray inserts for shallow drawers
- Stackable utensil organizers that fit your drawer depth
Takeaway: Measure your drawers and place dividers so each item has a dedicated slot today.
6. Magnetic Strips and Racks: The Quick-Access Zone
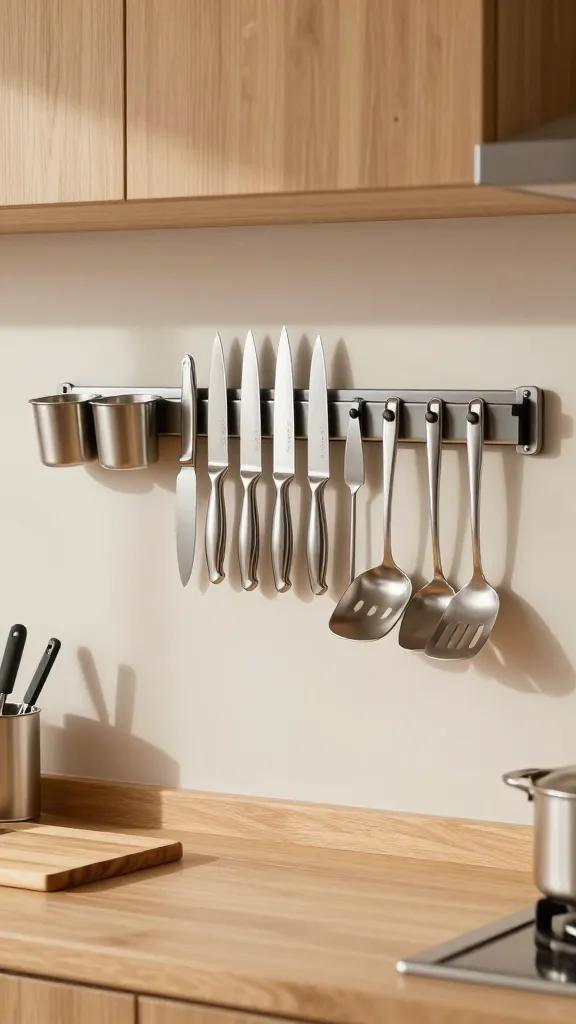
Metal utensils and knives often live in a drawer where they’re hard to grab safely. A magnetic strip near the prep area makes a clean, efficient, and striking storage feature.
Signs to Watch For
- Knives and metal tools buried in a drawer
- Cluttered counter corners with loose tools
- Fear of cutting injuries due to reaching into a crowded drawer
How to Fix It
- Mount a magnetic strip at eye level on a backsplash or wall
- Attach magnets to metal containers for small tools
- Keep the strip clear of water splashes to prevent rust
What to Use Instead
- A compact wall rack for measuring spoons
- A magnetic spice tin set near the stove
Takeaway: Install a magnetic strip within sight and reach in 15 minutes to reclaim drawer space today.
7. Fold-Down Desk or Counter Extension: Expand Prep Surface on Demand
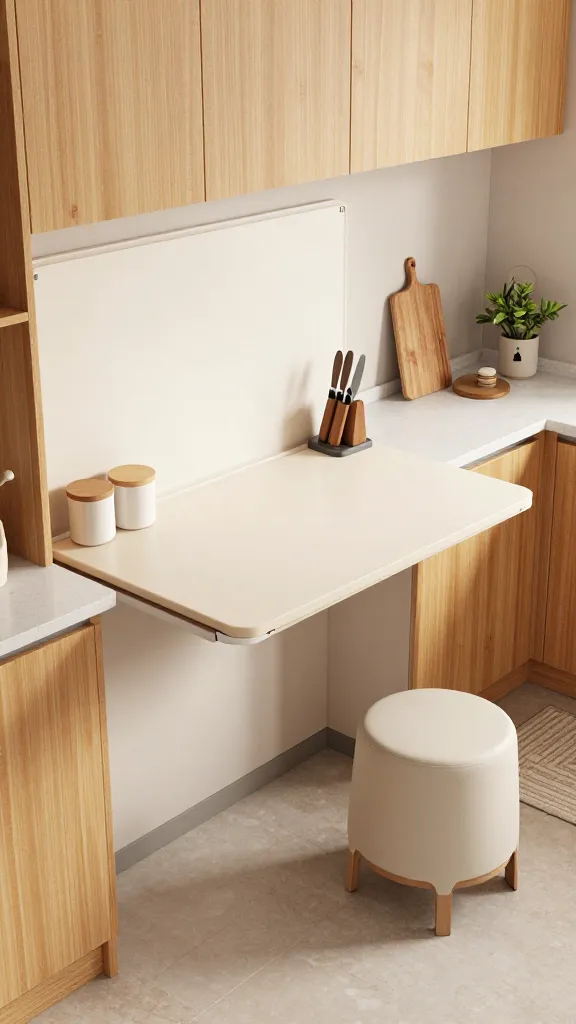
A fold-down or pull-out counter gives you extra work surface without permanently consuming space. It’s especially handy for small kitchens that double as dining areas.
Signs to Watch For
- Counter clutter during meal prep that makes space tight
- Temporary prep areas that get moved away repeatedly
- Limited room for chopping, rolling dough, or quick tasks
How to Fix It
- Install a hinged wall panel that folds down to a 12–16 inch depth
- Choose a surface that can double as a serving tray
- Keep frequently used cutting boards and knives nearby
What to Use Instead
- A small, wall-mounted butcher-block board
- A compact floating shelf with a drop-down lip
Takeaway: Add a fold-down surface in a 15–20 minute DIY install to gain instant prep space.
8. Pegboard System: Customizable, No-Nonense Organization
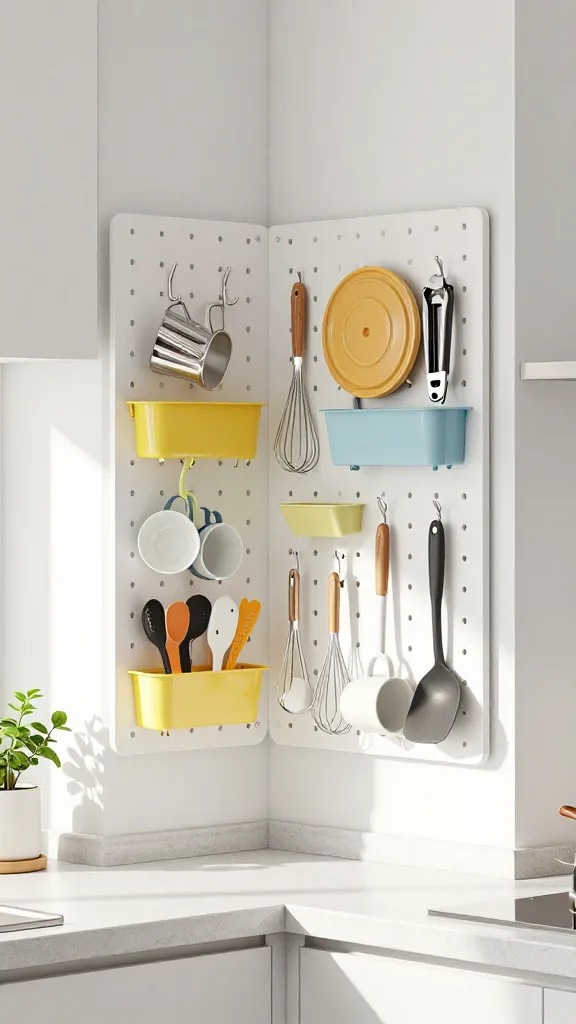
A pegboard lets you tailor storage to your actual tools and habits, evolving with your needs. It’s easy to adjust and visually tidy when items have a dedicated home.
Signs to Watch For
- Tools and equipment scattered in drawers or baskets
- Unclear locations for measuring cups, whisks, and can openers
- Frequent digging through cupboards to find small items
How to Fix It
- Mount a pegboard at reachable height above a counter
- Arrange hooks by category: measuring tools, lids, mugs, accessories
- Label hooks or use color-coded cords for quick scanning
What to Use Instead
- Vinyl-coated hooks that won’t rust in a humid kitchen
- Plastic bins that clip onto the lower sections of the board
Takeaway: Schedule 25 minutes to install a pegboard and sort items by frequency of use today.
9. Reusable Storage Bags and Wraps: Cut Waste, Cut Clutter
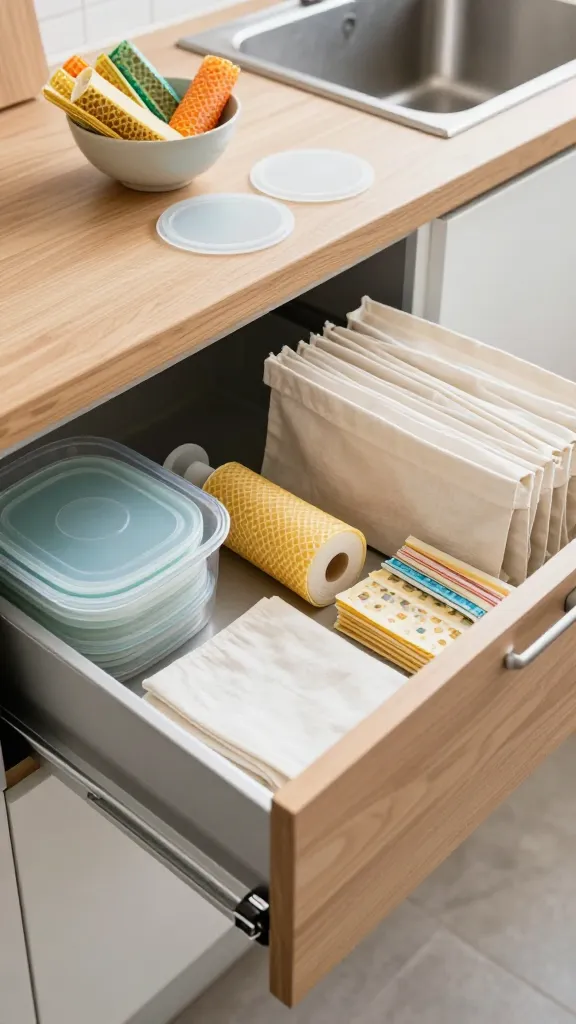
Disorganized wrap paper, foil, and snack bags create visual chaos and waste. Reusable bags, beeswax wraps, and silicone lids bring order and sustainability to the kitchen.
Signs to Watch For
- Multiple open rolls of foil or cling wrap
- Ripped or stained plastic wrap causing messy storage
- Single-use bags piling up in drawers or bins
How to Fix It
- Store wraps in a labeled bin or a wrap dispenser
- Keep silicone lids and beeswax wraps in a dedicated drawer
- Swap single-use bags for a few sturdy fabric or silicone options
What to Use Instead
- Beeswax wraps for produce and bread
- Silicone stretch lids for bowls and containers
Takeaway: Begin with a single reusable set for your most used wraps today and declutter one cabinet.
10. Labeling System: Clarity That Keeps Up With You
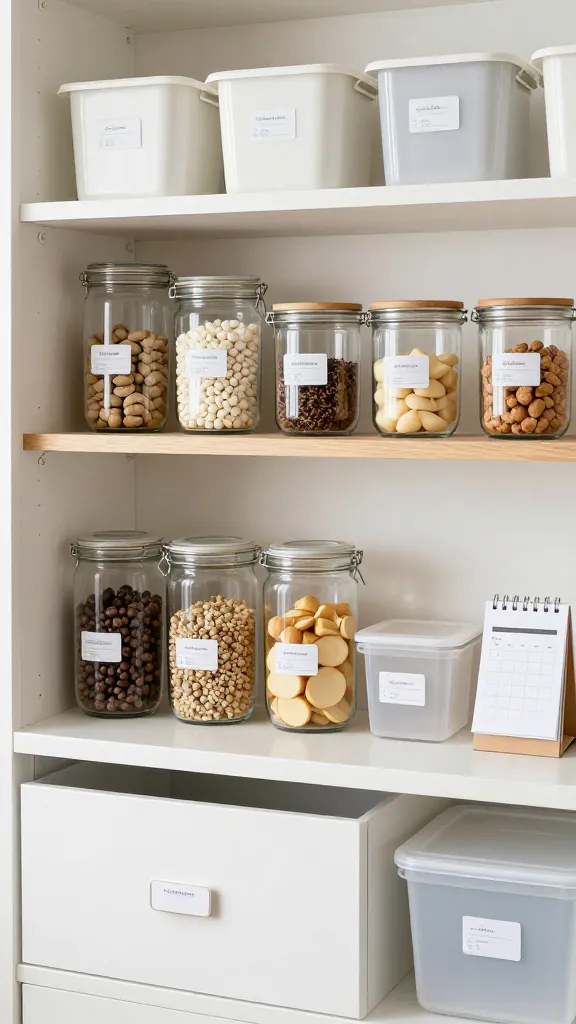
A consistent labeling system ties everything together. When you can instantly identify contents and dates, you’re motivated to maintain order and reduce waste.
Signs to Watch For
- Unlabeled containers leading to repeated purchases
- Expired items slipping to the back of shelves
- Misplaced lids or containers that don’t match their bases
How to Fix It
- Label canisters, jars, and drawers with content and date
- Use a consistent font and placement so labels are easy to read
- Review weekly to rotate stock and remove expired items
What to Use Instead
- Pre-printed, durable label sheets for jars and containers
- A small whiteboard on a pantry door for quick inventory notes
Takeaway: Create a simple labeling routine and label three containers today.
Frequently Asked Questions
What is the best budget storage upgrade for a small kitchen?
Start with clear canisters for dry goods and a dedicated under-sink organizer. Both steps are inexpensive and dramatically improve visibility and accessibility. Look for standard sizes at your local hardware or home goods store and ensure lids seal tightly to keep food fresh.
How can I maximize vertical space without drilling walls?
Use freestanding shelving units or adjustable over-cabinet racks. If you must mount, choose lightweight hooks and rails with damage-free adhesive strips. Always respect weight limits and remove items if the surface shows wear.
What should I store in the fridge vs. pantry for efficiency?
Store frequently used perishables in the front of the fridge and near the door for quick access. In the pantry, place items by category and frequency of use to minimize rummaging. Keep a small list of “must-replenish” items on the fridge magnet.
How do I keep kids from messing with kitchen storage?
Use clearly labeled, lower drawers and bins for kid-friendly items. A simple color-coding system helps children know where things go and encourages responsible stocking. Involve them in a monthly tidy-up to reinforce habits.
What maintenance schedule keeps storage neat long-term?
Do a quick 10-minute reset every Sunday: wipe surfaces, return items to their labeled spots, and check for expired products. Every quarter, audit the pantry and dresser drawers to remove duplicates and adjust layouts as needed.
How often should I reassess storage layouts?
Reassess every 3–6 months, or when you notice repeated clutter or unused items. Small kitchens benefit from periodic tweaks as your routines change, such as moving for seasonal cooking or hosting guests.
Conclusion
With these practical, space-conscious ideas, you’ll transform your kitchen into a functional, stylish space you’re proud of. Start with one or two changes today, and build toward a fully organized system over the next few weeks.
Leave a Reply