9 Farmhouse Kitchen Cabinet Ideas for an Earthy, Natural Finish
· thehazelcottage@mail.com
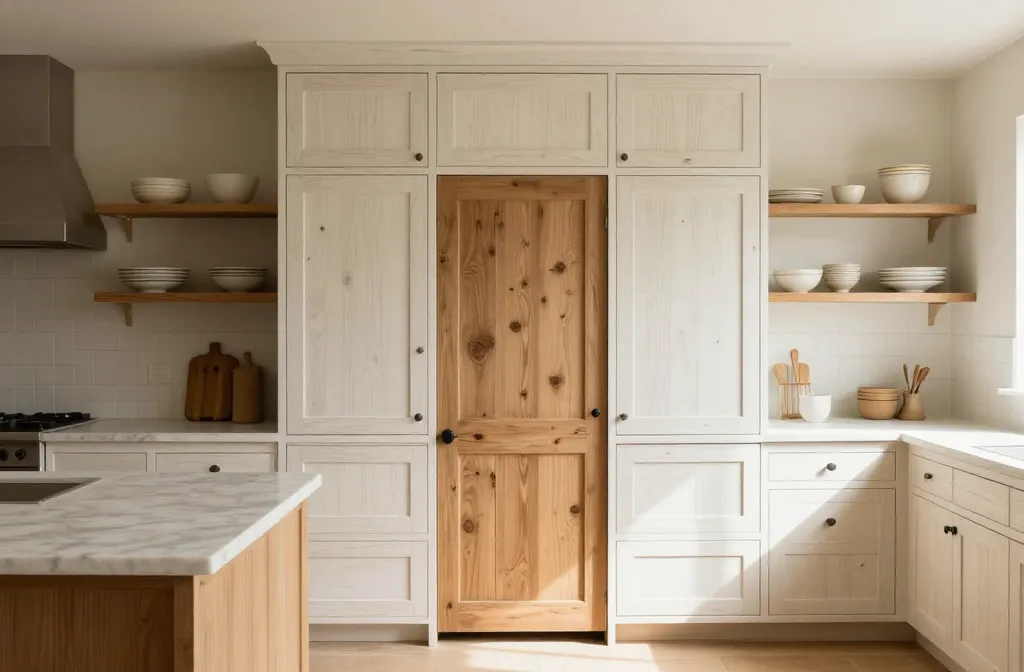
From the first time I installed a worn pine cabinet to upgrade our rental kitchen, I learned how a natural finish can transform the whole room. These ideas come from real-life testing in homes just like yours—where you want warmth without high maintenance. You’ll discover practical, budget-friendly ways to achieve an earthy look that endures.
1. Reclaimed Wood Panels: Texture Over Perfection
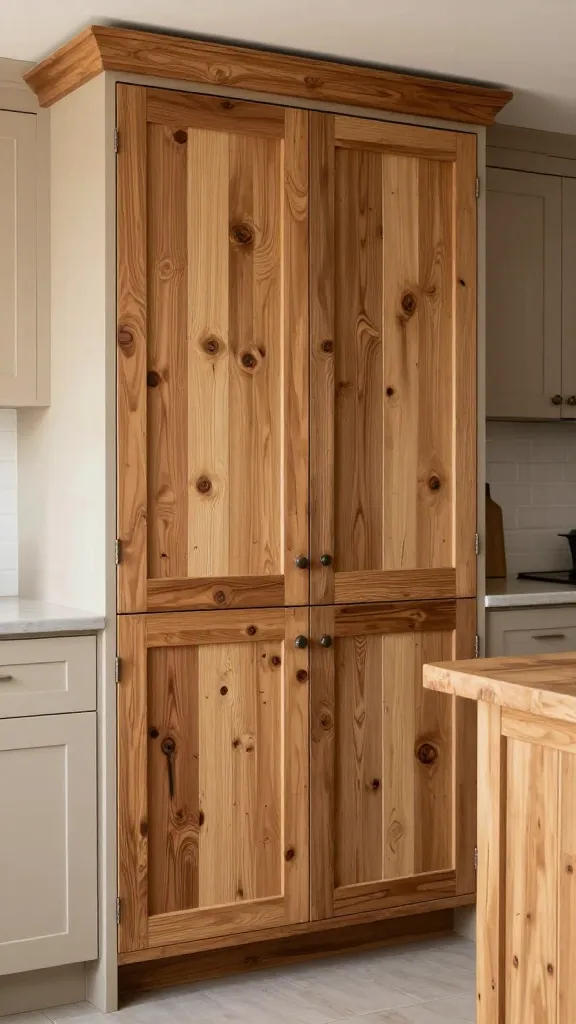
Reclaimed wood brings instant character, but it also invites imperfections that can feel busy if overused. The key is letting a few panels shine rather than covering every surface with the same pattern.
Signs to Watch For
- Uneven grain or knot patterns that stand out against flat doors
- Color variation that looks mismatched with surrounding finishes
- Exposed nail holes or weathered edges in small doses
How to Fix It
- Use reclaimed boards as an accent strip on a couple of cabinet doors or the island side.
- Seal with a matte, low-sheen finish to preserve texture without high gloss.
- Balance with smooth painted panels on the remaining doors.
What to Use Instead
- A single reclaimed-wood panel set per cabinet run
- Clear matte sealer or wax finish for easy touch-ups
Takeaway: Limit reclaimed panels to 1–2 doors per frame to retain cohesion without overwhelming the space.
2. Wire Brushed White Oak: Subtle Grain, Rustic Glow
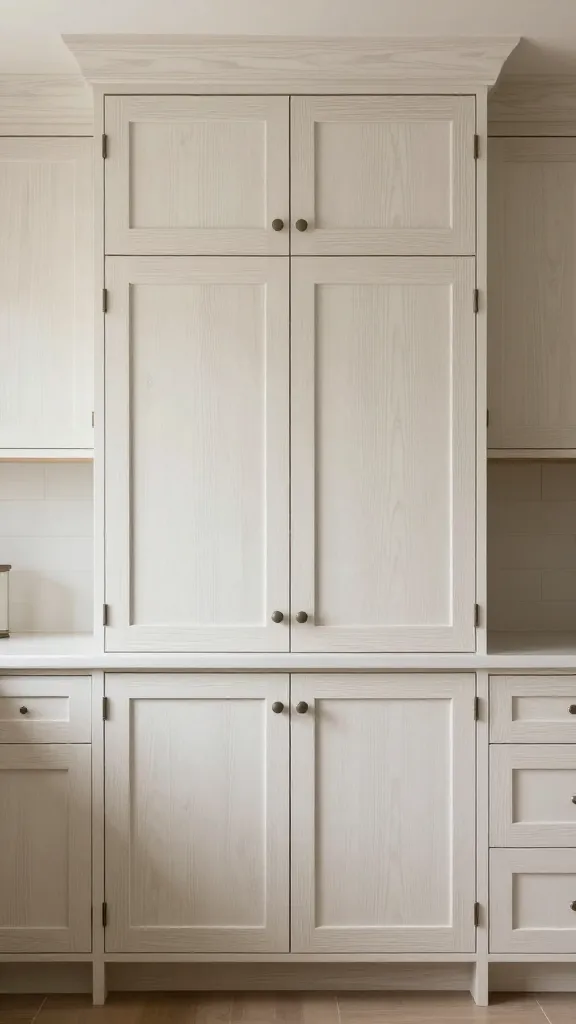
Wire-brushed oak gives depth to a neutral palette and hides fingerprints better than smooth surfaces. It reads distinctly farmhouse without looking rustic to the point of heaviness.
Signs to Watch For
- Flat, dull surfaces that feel lifeless
- Excessive shine from high-gloss clear coats
- Grain that appears too uniform across all doors
How to Fix It
- Choose a matte or satin finish to keep the wood honest and warm.
- Apply a light stain only to enhance grain, not color the entire cabinet.
- Maintain consistency by pairing with a neutral wall color.
What to Use Instead
- Wire-brushed white oak veneer door fronts
- Budget-friendly matte polyurethane or wax
Takeaway: Apply stain sparingly and finish with a durable, low-sheen topcoat to maintain warmth and ease of cleaning.
3. Shaker-Style Doors With Soft Whitewash: Calm, Airy, Timeless
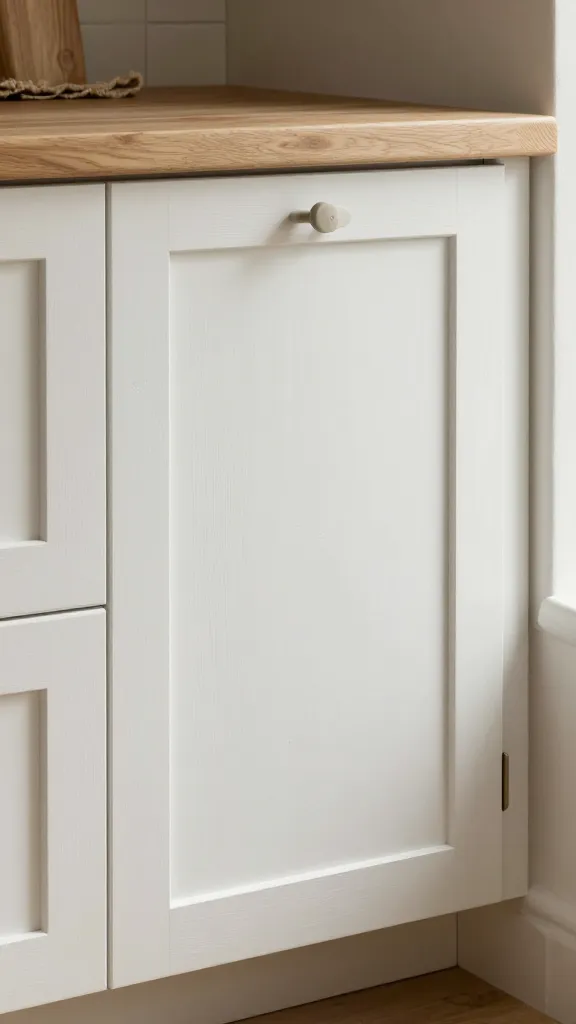
Shaker profiles are inherently practical, and whitewashing adds an earthy softness that mirrors plaster walls and cotton tones found in rustic kitchens.
Signs to Watch For
- Doors that read too dark after aging
- Visible brush marks or uneven whitewash layers
- Glossy reflections that clash with natural textures
How to Fix It
- Use a lime-washed or diluted water-based stain for a breathable color.
- Wipe excess with a dry rag to achieve even coverage.
- Seal with a matte topcoat to keep the finish soft and approachable.
What to Use Instead
- Pre-stained shaker doors with a light whitewash
- Water-based topcoat for easy cleanup
Takeaway: Whitewash in moderation creates depth without losing the natural wood feel; aim for 40–60% white to let the grain peek through.
4. Painted Palettes in Warm, Earthy Tones: Clay, Sand, Sage
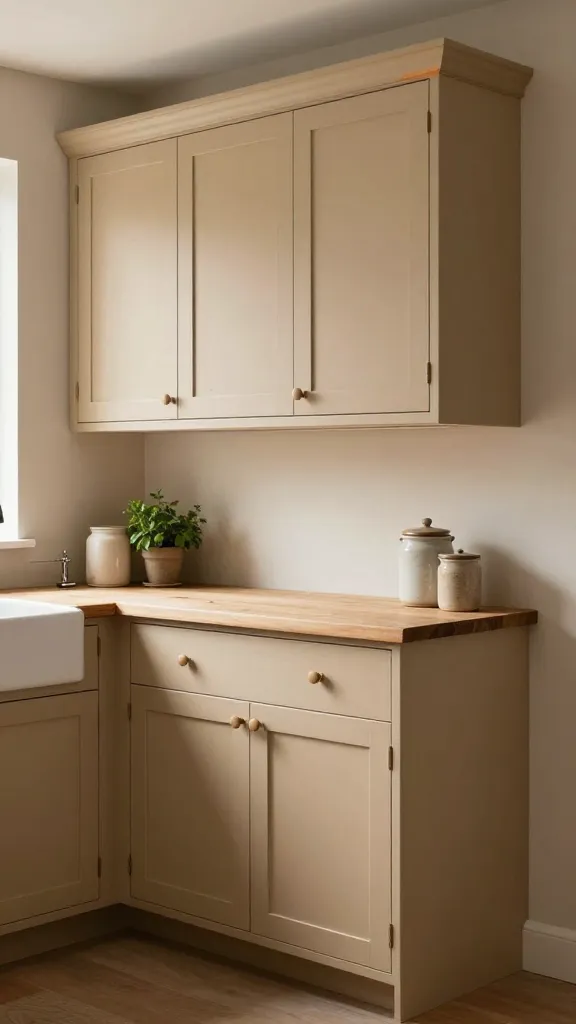
A warm palette grounds a kitchen and makes natural textures sing. Paint connects old cabinet radiance with a modern, earthy finish without heavy staining.
Signs to Watch For
- Cold, gray tones that drain warmth
- Uniform color that hides grain and detail
- Chips revealing bright undercoats on edges
How to Fix It
- Choose clay, sand, or sage as base colors; keep cabinets 60–80% of the visible area for balance.
- Use a breathable water-based enamel for touch-ups later on.
- Seal with a matte finish to preserve the soft, organic look.
What to Use Instead
- Two-tone approach: lighter uppers, warmer lowers
- Low-sheen enamel for durability and ease of cleaning
Takeaway: Limit bold color to accents and keep at least half of the cabinet in a warm, muted tone for cohesion.
5. Open Wood Shelves Paired With Closed Cabinets: Lightness With Structure
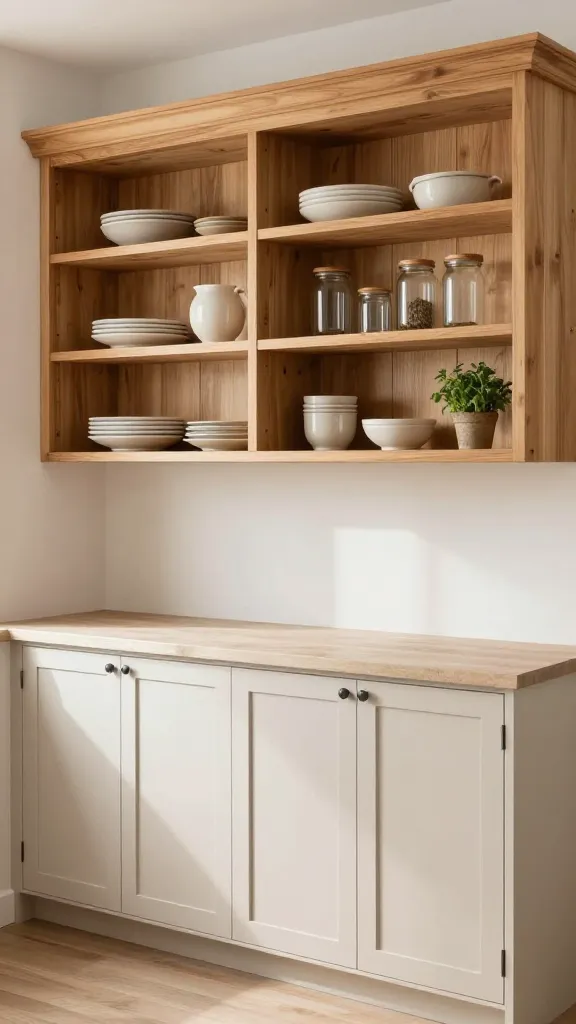
Open shelves break up massed cabinetry and echo farmhouse practicality. They let natural wood breathe and visually expand space, while closed cabinets keep mess out of sight.
Signs to Watch For
- Dust buildup on exposed shelves that feels unkept
- Mismatch in shelf wood with adjacent cabinet doors
- Visible gaps that interrupt the finish line
How to Fix It
- Match shelf wood to adjacent cabinet doors for a cohesive look.
- Seal shelves with the same matte finish used on doors.
- Keep shelves uncluttered and stage with a few natural accents.
What to Use Instead
- All wood shelves in a single finish
- Glazed or painted cabinets if you want more contrast
Takeaway: Use open shelving sparingly and mirror the cabinet finish on shelves to maintain a unified, earthy vibe.
6. Matte Black or Brass Hardware: Subtle Modern Edge
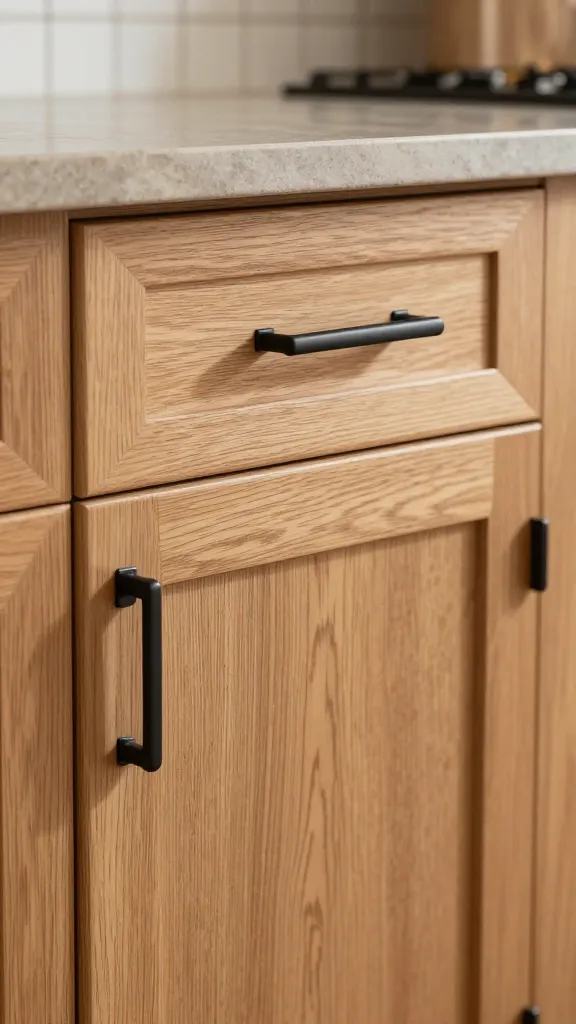
Hardware shapes the final feel as much as door materials. Matte black or warm brass add contrast without breaking the natural mood.
Signs to Watch For
- Hardware finishes that clash with wood tone
- Glossy or oversized knobs overpowering small doors
- Visible wear on bright metal hardware
How to Fix It
- Choose hardware with a low-profile, simple silhouette
- Keep finishes consistent across all handles and hinges
- Secure hardware with caution to avoid marring the surface
What to Use Instead
- Matching matte black or aged brass handles for all doors
- Soft-close hinges to preserve the finish
Takeaway: Pick one finish for all hardware and keep it in a subdued tone to maintain the earthy balance.
7. Natural Wax Topcoat For a Hands-On Feel
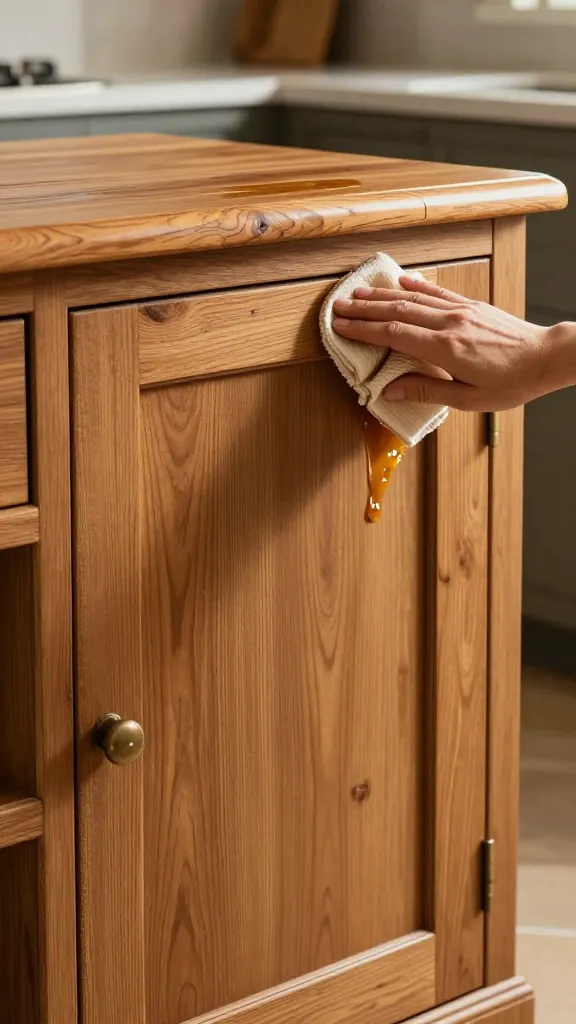
Wax offers a tactile, warm finish that highlighting grain and age. It ages gracefully, resisting fingerprints with the right layer.
Signs to Watch For
- Finish that looks dull or dry in high-traffic areas
- Chips or scratches that reveal pale wood underneath
- Sticky residue when applying too thick a layer
How to Fix It
- Apply thin, even coats with a soft cloth; buff to a gentle sheen
- Reapply when surface looks dry or dull, usually every 6–12 months
- Wipe up spills promptly to protect the wax layer
What to Use Instead
- Clear wax designed for furniture with compatible drying times
- Wax-based finish for a hands-on maintenance routine
Takeaway: Apply wax sparingly and maintain with periodic buffing to preserve warmth and depth.
8. Clear Sealers That Preserve Grain Without Gloss
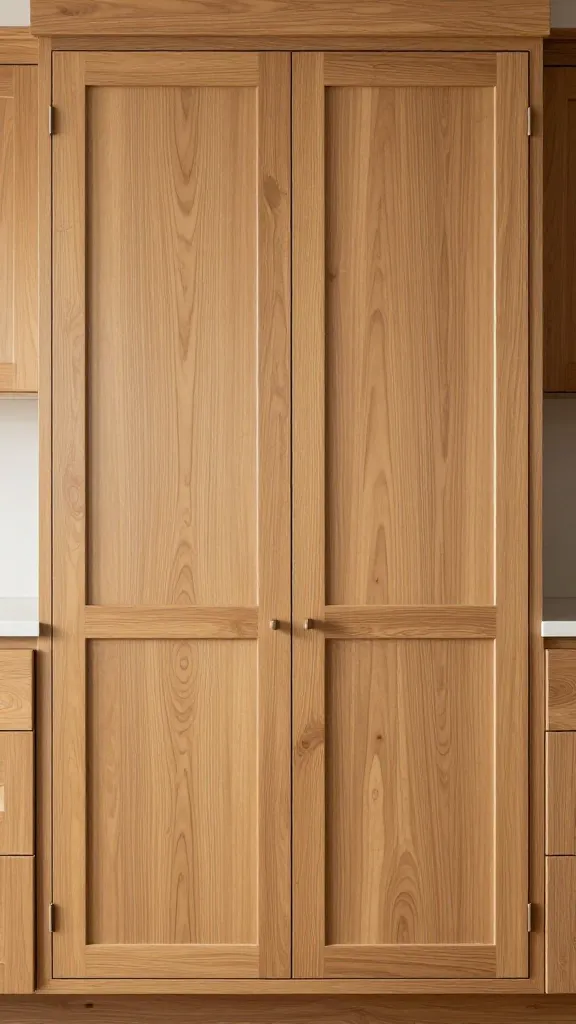
A clear sealant helps protect the wood while letting the grain breathe. The right sealer keeps the earthy look intact without adding shine.
Signs to Watch For
- Glossy reflections on cabinet doors
- Uneven sheen between panels
- Yellowing or darkening over time in certain lighting
How to Fix It
- Choose a water-based polyurethane or polycrylic with a matte or satin sheen
- Apply thin coats, sanding lightly between coats for evenness
- Ventilate well during application to avoid odors
What to Use Instead
- Water-based matte polycrylic for easy cleanups
- Lightly sandable sealers for touch-ups
Takeaway: Aim for a satin or matte sheen that preserves grain and reduces glare from kitchen lighting.
9. Natural-Tone Stain + Clear Finish Duo: Depth Without Dimming
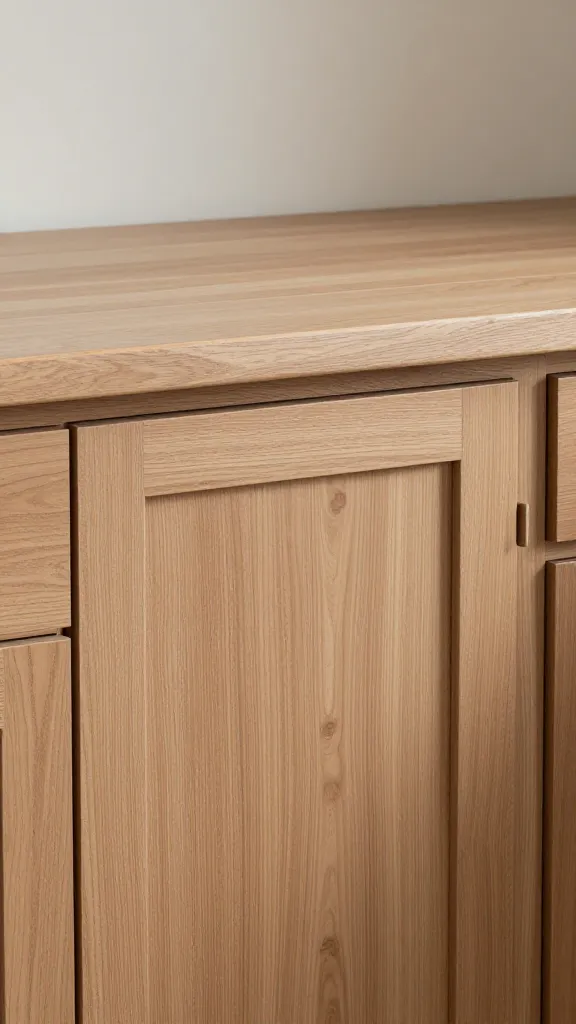
A two-layer approach uses a light stain to emphasize grain, followed by a clear, durable topcoat. It’s a practical path to a warm, natural finish that ages well.
Signs to Watch For
- Overly dark door panels compared with lighter walls
- Patchy staining where certain areas darken unevenly
- Durability concerns on high-traffic cabinet faces
How to Fix It
- Test stain on a hidden panel to gauge how it will look when sealed
- Stain with a light hand and wipe off quickly for even color
- Finish with a matte topcoat to protect without adding gloss
What to Use Instead
- Pre-stained panels with a compatible clear topcoat for consistency
- Two coats of a single, durable matte finish if stain coverage is uneven
Takeaway: Use a light stain to bring out grain, then seal with a breathable, low-sheen topcoat for lasting warmth.
Frequently Asked Questions
What is the best wood type for a farmhouse look on kitchen cabinets?
Softwoods like pine or ash, or real-deal reclaimed boards, give authentic warmth. If you’re new, choose pine veneers or ready-made pine doors and pair with a warm whitewash or light stain. Always test a sample area before committing.
How do I keep the finish looking farmhouse over time?
Wipe surfaces with a damp cloth and mild detergent, then dry immediately. Avoid abrasive pads that scratch the grain. Reapply a protective topcoat every 1–2 years depending on wear.
Can I mix materials on the same cabinet run?
Yes. A single wood tone with painted or whitewashed doors on alternate panels creates depth without clutter. Keep hardware consistent to unify the look.
Is a two-tone kitchen harder to maintain?
Not if you plan ahead. Use a cohesive color family and a single material for the majority of doors. Clean edges regularly to prevent color bleed at joints.
Should I use distressed finishes in a rental?
Distressed looks settle in quickly and hide minor wear. In rentals, a lightly distressed edge can add character while remaining easy to touch up.
What is the most fault-tolerant finish for busy kitchens?
A matte enamel with a wax or polycrylic topcoat resists fingerprints and is easier to refresh than high-gloss birch finishes. Choose a finish labeled for kitchens for added durability.
Conclusion
With these nine ideas, you can craft a farmhouse kitchen that feels grounded, warm, and durable. Start with one or two changes that fit your space, and you’ll see the natural finish pull the whole room together—without becoming fussy or high maintenance.
Leave a Reply