9 Herb Window Garden Ideas for a Cottage Kitchen
· thehazelcottage@mail.com
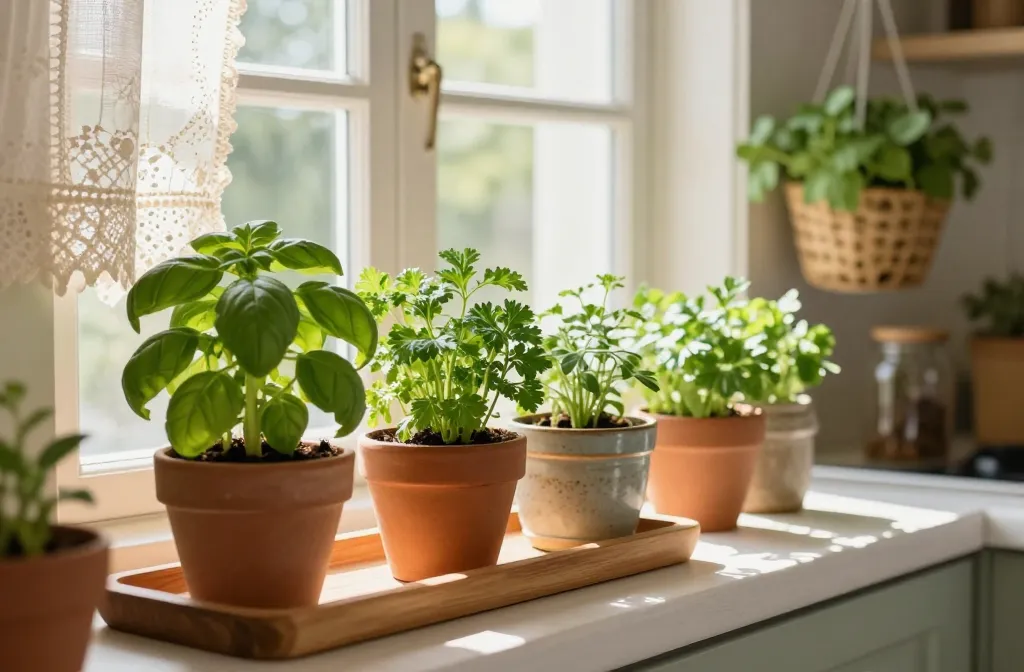
I grew up cooking with herbs snipped from a sunny kitchen window. Now I grow mine the same way, and I’ve learned how tiny changes elevate meals and reduce trips to the store. In this guide you’ll learn practical, kitchen-friendly ideas you can set up this weekend to grow fragrant herbs right where you cook.
1. Basil in a Shadow-Lillie Tray: Bright Indirect Light Keeps Leaves Lush
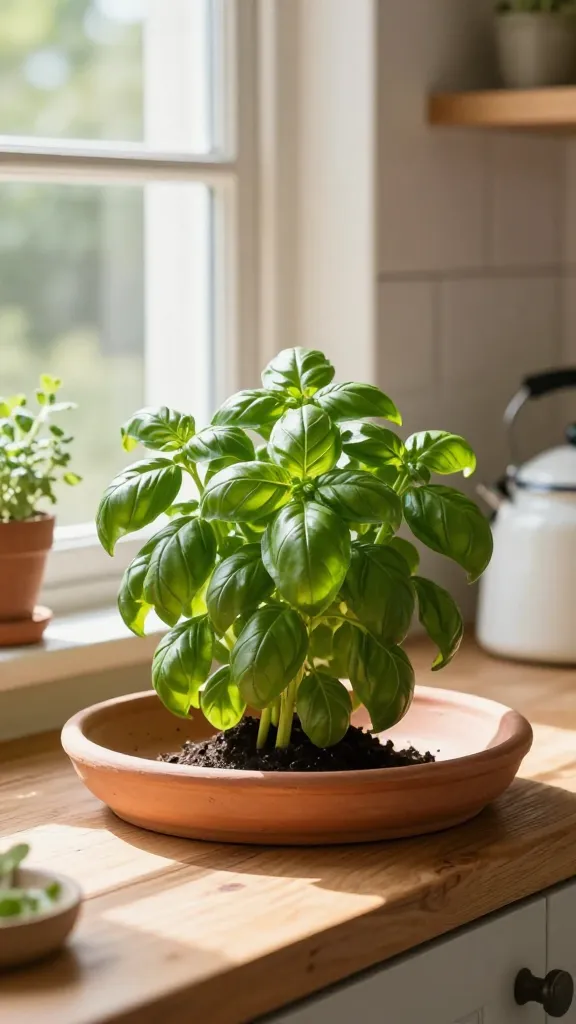
Placed in a sunny cottage kitchen, basil thrives on bright indirect light. Without enough light, stems stretch and leaves lose flavor, turning bitter and pale.
Signs to Watch For
- Leggy growth with sparse leaf density
- Leaves pale green or yellowing
- Slow growth despite regular watering
How to Fix It
- Move basil to a window that gets bright indirect light for 6–8 hours daily
- Rotate the pot every 2–3 days for even growth
- Trim regularly to encourage bushy development
What to Use Instead
- A single wide terracotta pot on the sill or a shallow tray with 2–3 compact basil plants
Takeaway: Place basil where it meets bright indirect light and trim weekly to keep bushy, flavorful growth.
2. Parsley Basket: Keep Flat, Fresh Clippings Within Reach
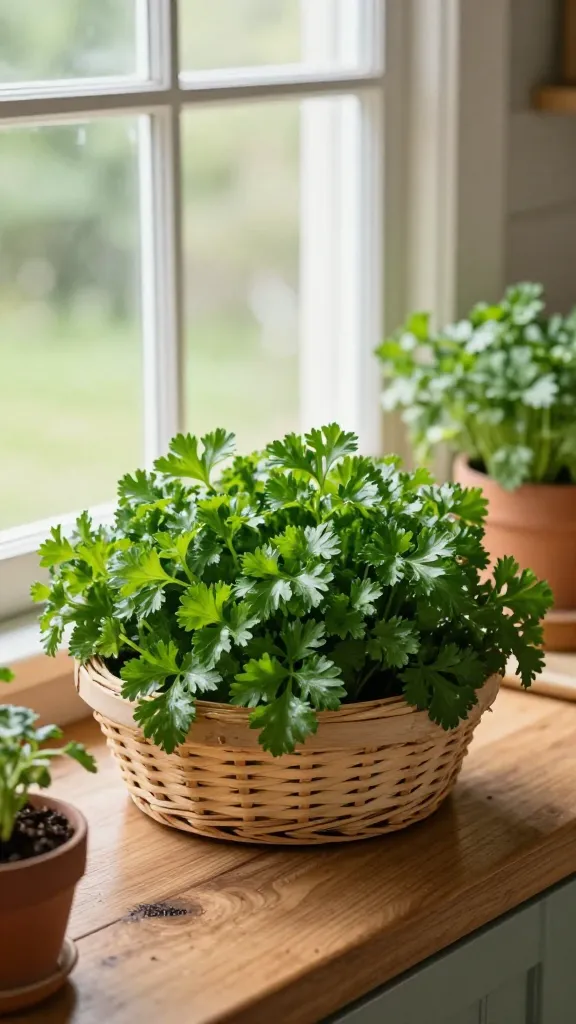
Parsley needs steady moisture and bright, indirect light. Inconsistent watering or heat stress makes it bitter and stringy.
Signs to Watch For
- Thin, drooping fronds
- Leaves turning dull or curling
- Slow, uneven growth
How to Fix It
- Water evenly and keep soil consistently moist but not waterlogged
- Place near a north or east-facing window for steady light
- Harvest from the outside in to encourage new growth
What to Use Instead
- A shallow, wide pot with a moisture-retentive potting mix
Takeaway: Use a bright, indirect light spot and harvest outer leaves to sustain parsley through weeks.
3. Thyme Tower: Compact, Fragrant Leaves for Cooking
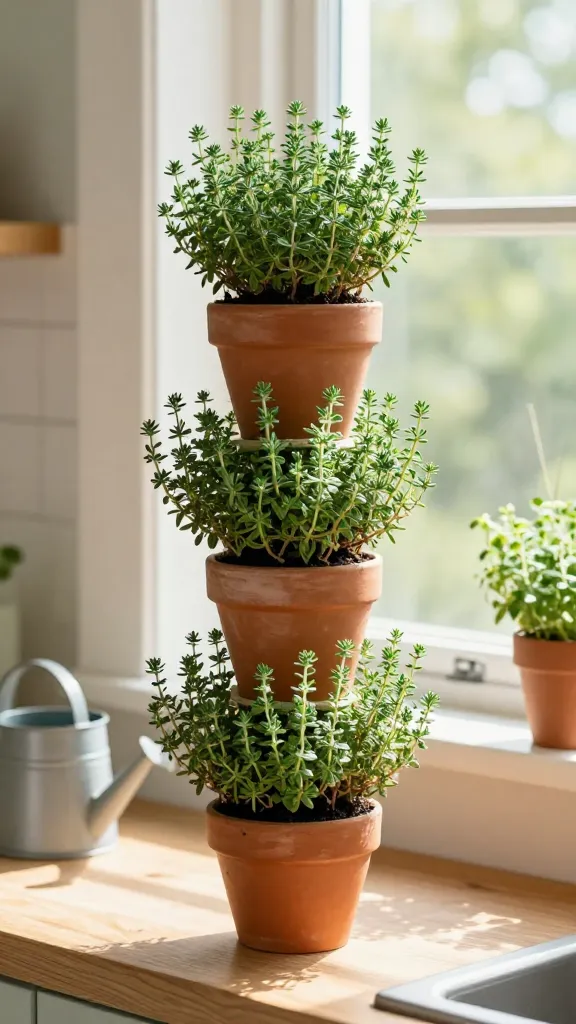
Thyme tolerates a bit less water and loves sunny spots. In kitchens with fluctuating temps, thyme can slow growth or look stressed.
Signs to Watch For
- Stunted growth or dusty leaf surfaces
- Brown tips on new growth
- Leaves turning pale in low light
How to Fix It
- Ensure a steady window with bright indirect light
- Avoid overwatering; let the top inch dry slightly between waterings
- Prune after flowering to encourage denser growth
What to Use Instead
- A compact, tall pot or a small herb tower with individual thyme compartment
Takeaway: A bright, dry-ish thyme plant in a small pot keeps aroma strong and leaves ready for dishes.
4. Oregano Window Block: Daylight-Driven Flavor Without Replanting
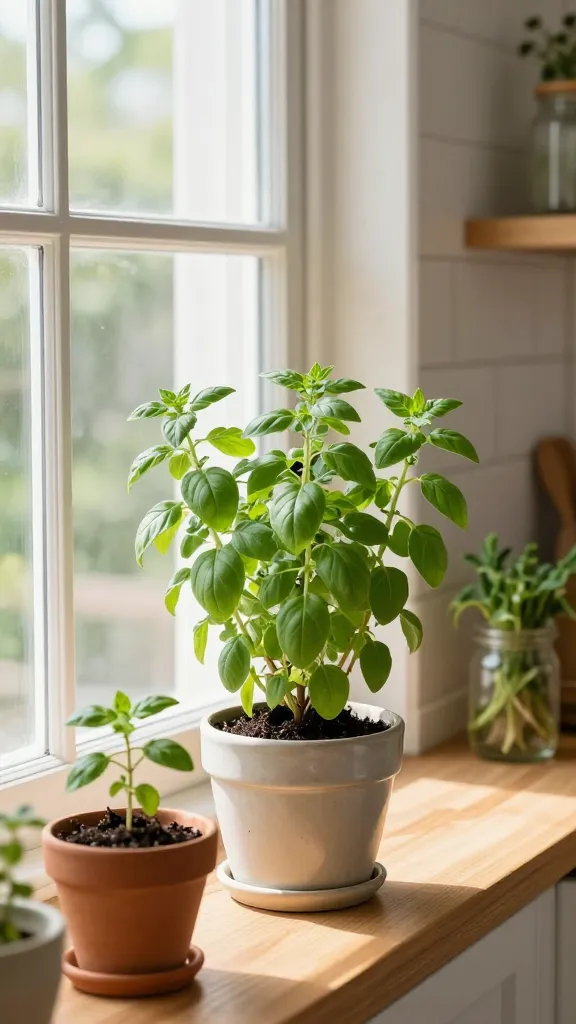
Oregano loves light and compact spaces. If it sits in shade, flavor fades and stems become woody.
Signs to Watch For
- Woody stems with sparse leafing
- Leaves dull or pale
- Slow growth across weeks
How to Fix It
- Move oregano to the brightest window side and provide 6–8 hours of light
- Pinch back top growth every few weeks to encourage bushiness
- Replace with fresh cuttings if stems become too woody
What to Use Instead
- One medium pot with well-draining potting mix
Takeaway: Keep oregano in the strongest light you have and prune regularly to maintain tender leaves.
5. Mint Cascade: Use a Tray to Contain Sprawl and Fragrance
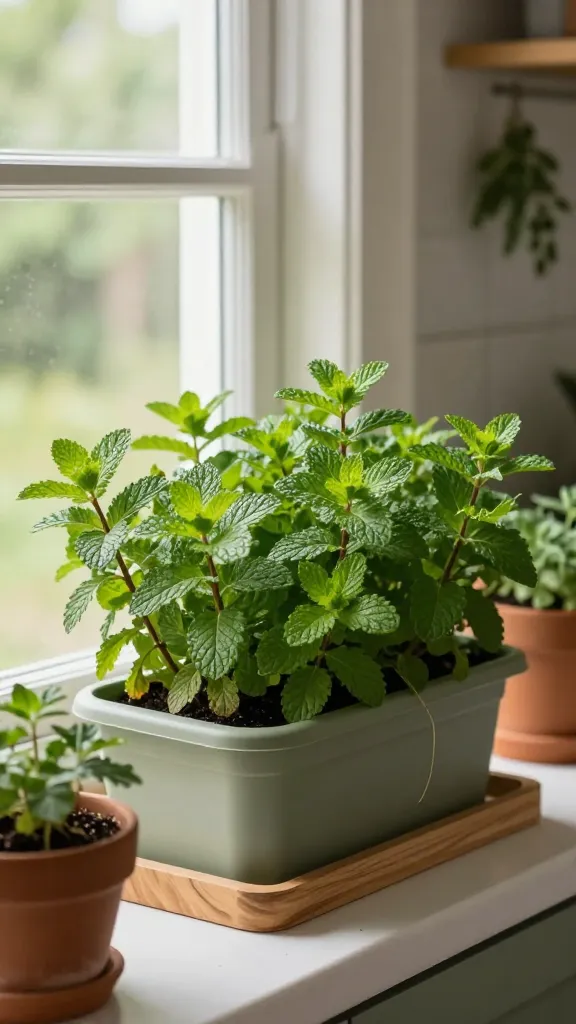
Mint runners are relentless; left unchecked it crowds other herbs and can become invasive in a window setup.
Signs to Watch For
- Undersized neighboring herbs due to root competition
- Mint overruns its container with long runners
- Leaf yellowing near the base
How to Fix It
- Grow mint in a wide, dedicated container with a barrier to limit spread
- Trim regularly to keep a compact shape
- Keep soil evenly moist but not soggy
What to Use Instead
- A deep, wide pot or window box strictly for mint
Takeaway: Contain mint in a separate, wide pot and prune weekly to prevent takeover.
6. Rosemary Rack: Drought-Resistant Fragrance in a Sunny Nook
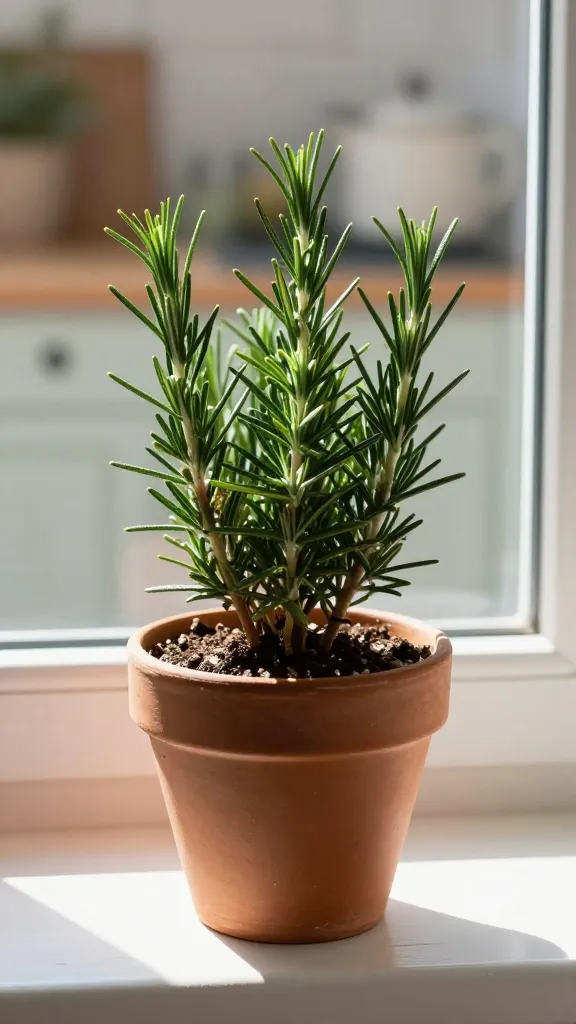
Rosemary dislikes wet roots. In a crowded window, it can get waterlogged and drop needles or become stressed.
Signs to Watch For
- Needles browning at tips
- Slow growth or sparse foliage
- Soil stays wet for too long after watering
How to Fix It
- Water only when the top inch of soil is dry
- Use a soil mix with good drainage and add perlite if needed
- Provide bright light for 6–8 hours daily
What to Use Instead
- A small terracotta pot with a drainage hole in a sunny sill
Takeaway: Water rosemary sparingly and ensure fast-draining soil to keep needles vibrant.
7. Cilantro Corner: Fast-Growing Leaflets for Fresh Salsa, Right Now
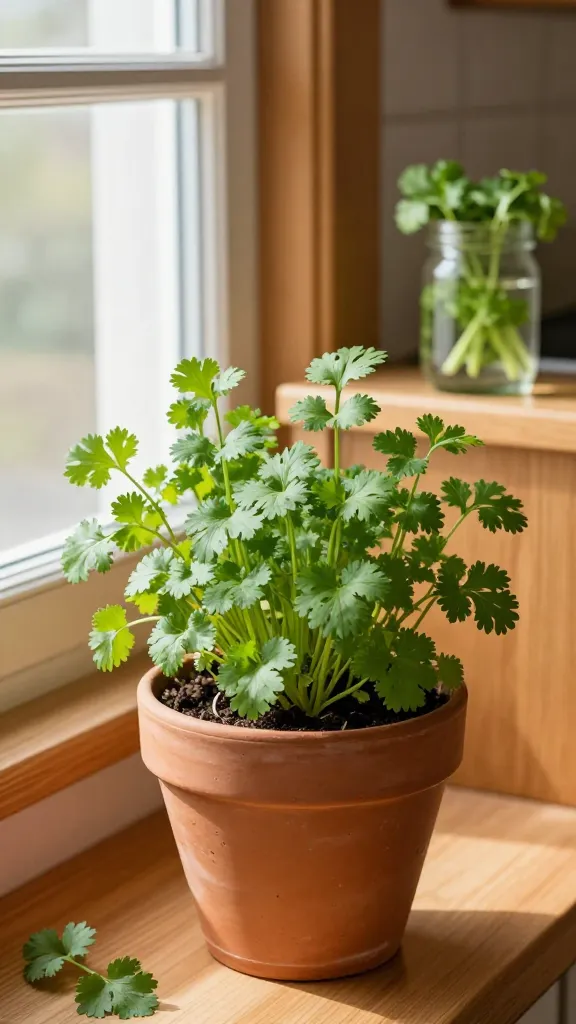
Cilantro hates heat and slow growth leaves you frustrated. In a warm kitchen, it bolts quickly or turns bitter.
Signs to Watch For
- Leaves turning yellow then brown at the edges
- Stems becoming woody or tough
- Flowering and seeding early in the season
How to Fix It
- Provide cool airflow and bright indirect light
- Harvest frequently, cutting stems just above a node
- Replace every 4–6 weeks with fresh cilantro cuttings
What to Use Instead
- A 6–8 inch pot with a loose, fast-draining potting mix
Takeaway: Grow cilantro in a cool, bright spot and sow new cuttings every 4–6 weeks for continuous harvest.
8. Dill Shelf: Tall, Aromatic Foliage That Keeps Flavor Close
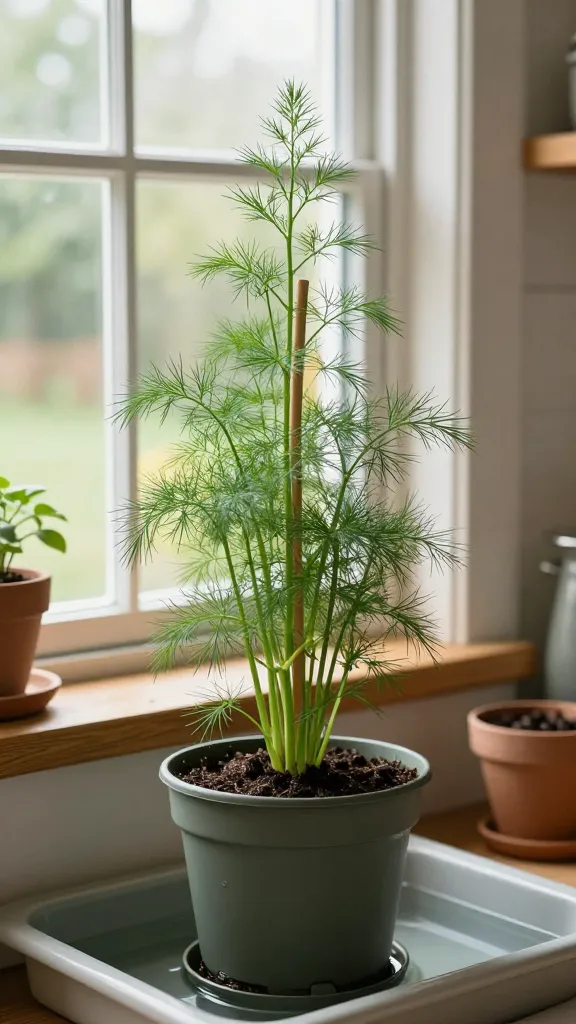
Dill benefits from a bit more space and light. In cramped windows, it leans and becomes bitter.
Signs to Watch For
- Stem elongation with sparse leaf density
- Leaf color dulls and fragrance fades
- Roots crowd the pot and water drains slowly
How to Fix It
- Move to a brighter position and use a deeper pot
- Water evenly and ensure drainage
- Trim regularly to encourage fullness
What to Use Instead
- A 8–10 inch pot with a good potting mix and a sturdy stake
Takeaway: Give dill room to grow upward and maintain moisture evenly for strong, feathery foliage.
9. Chives Nook: Onion-Scented Greens Ready at a Moment’s Notice
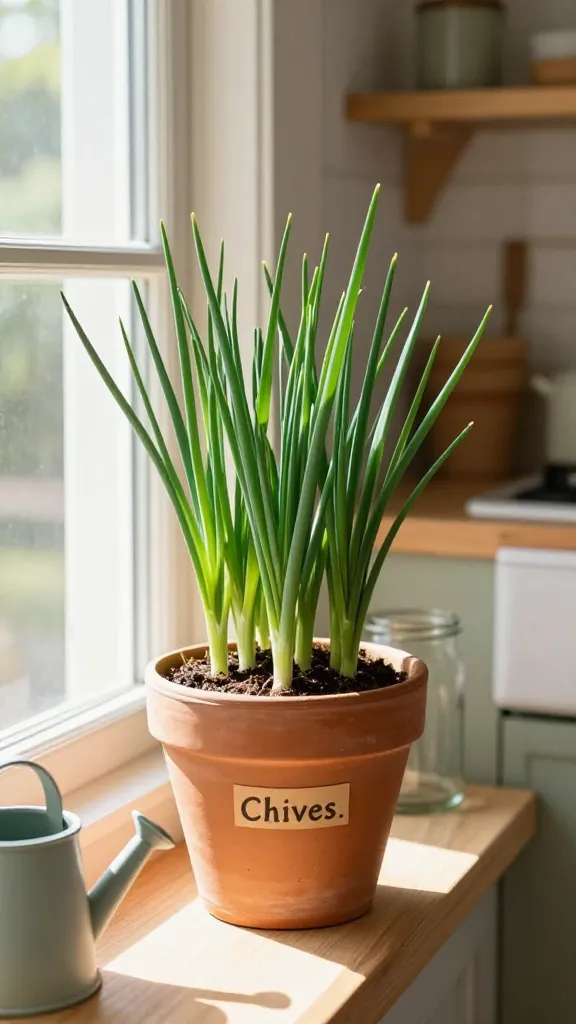
Chives are forgiving and quick to rebound, but crowded roots or low light dull their flavor.
Signs to Watch For
- Arching, pale leaves
- Slow regrowth after harvest
- Soil dries out between watering leading to wire-dry edges
How to Fix It
- Provide bright indirect light and regular, even watering
- Harvest from the outer leaves to encourage new growth
- Refresh soil annually with a high-quality potting mix
What to Use Instead
- A medium pot placed on a sunny sill, with a simple, well-draining mix
Takeaway: Keep chives near the cooking zone and harvest from the outside for a constant supply.
FAQ
How much light do herb windows need?
Most herbs thrive with bright indirect light for 6–8 hours daily. If your window is darker, use a small, affordable LED grow light placed above the plants for a few hours each day.
What soil should I use for a cottage kitchen window garden?
Choose a good-quality potting mix from the garden centre that is light and drains well. Avoid garden soil, which can compact in pots and retain too much moisture.
How often should I water herbs on a window ledge?
Water when the top inch of soil feels dry. In warmer rooms, this may be every 2–4 days; in cooler rooms, every 5–7 days. Always water thoroughly until it drains from the bottom.
Can I grow all herbs together in one window box?
Yes, but match plants with similar light and water needs. Group mint separately to prevent spread, and place herbs requiring drier soil in pots that drain quickly.
What should I do if leaves get brown tips?
Brown tips usually mean either underwatering or dry air. Check soil moisture, water if dry, and consider misting or placing a small tray with water near the window to raise humidity slightly.
How do I prevent herbs from bolting in warm kitchens?
Cut back flowering stems as soon as they appear and keep plants in the coolest part of the window. Regular harvesting helps delay bolting and keeps flavor strong.
Conclusion
With a little planning and a sunny sill, your cottage kitchen can become a thriving herb studio. Start by picking three herbs that fit your cooking, place them where you actually cook, and prune regularly to keep them productive and fragrant.
Leave a Reply